Refinishing brackets that have already coated
So we had a customer some time ago have issues with the final finish on some Coatings.
The coatings in question were being used on old Heavily corroded (and holed) brackets for a series land rover.
Primer used is Buzzweld RCP Rust Control Primer
Top Coat used was Halfords Gloss black.
The first thing to remember when mixing paints is to do a test first. If they are not recommended for eachother specifically you run the risk of complications. However in most cases proper preparation and application will see the job completed to a high standard with no issues at all.
Issues with this application from the customers perspective were ;-
- Corrosion acceleration
- Poor adhesion
- Flaking paint
- Poor finish
We volunteered to have a look having been sent some initial photographs, and decide what to do from there.
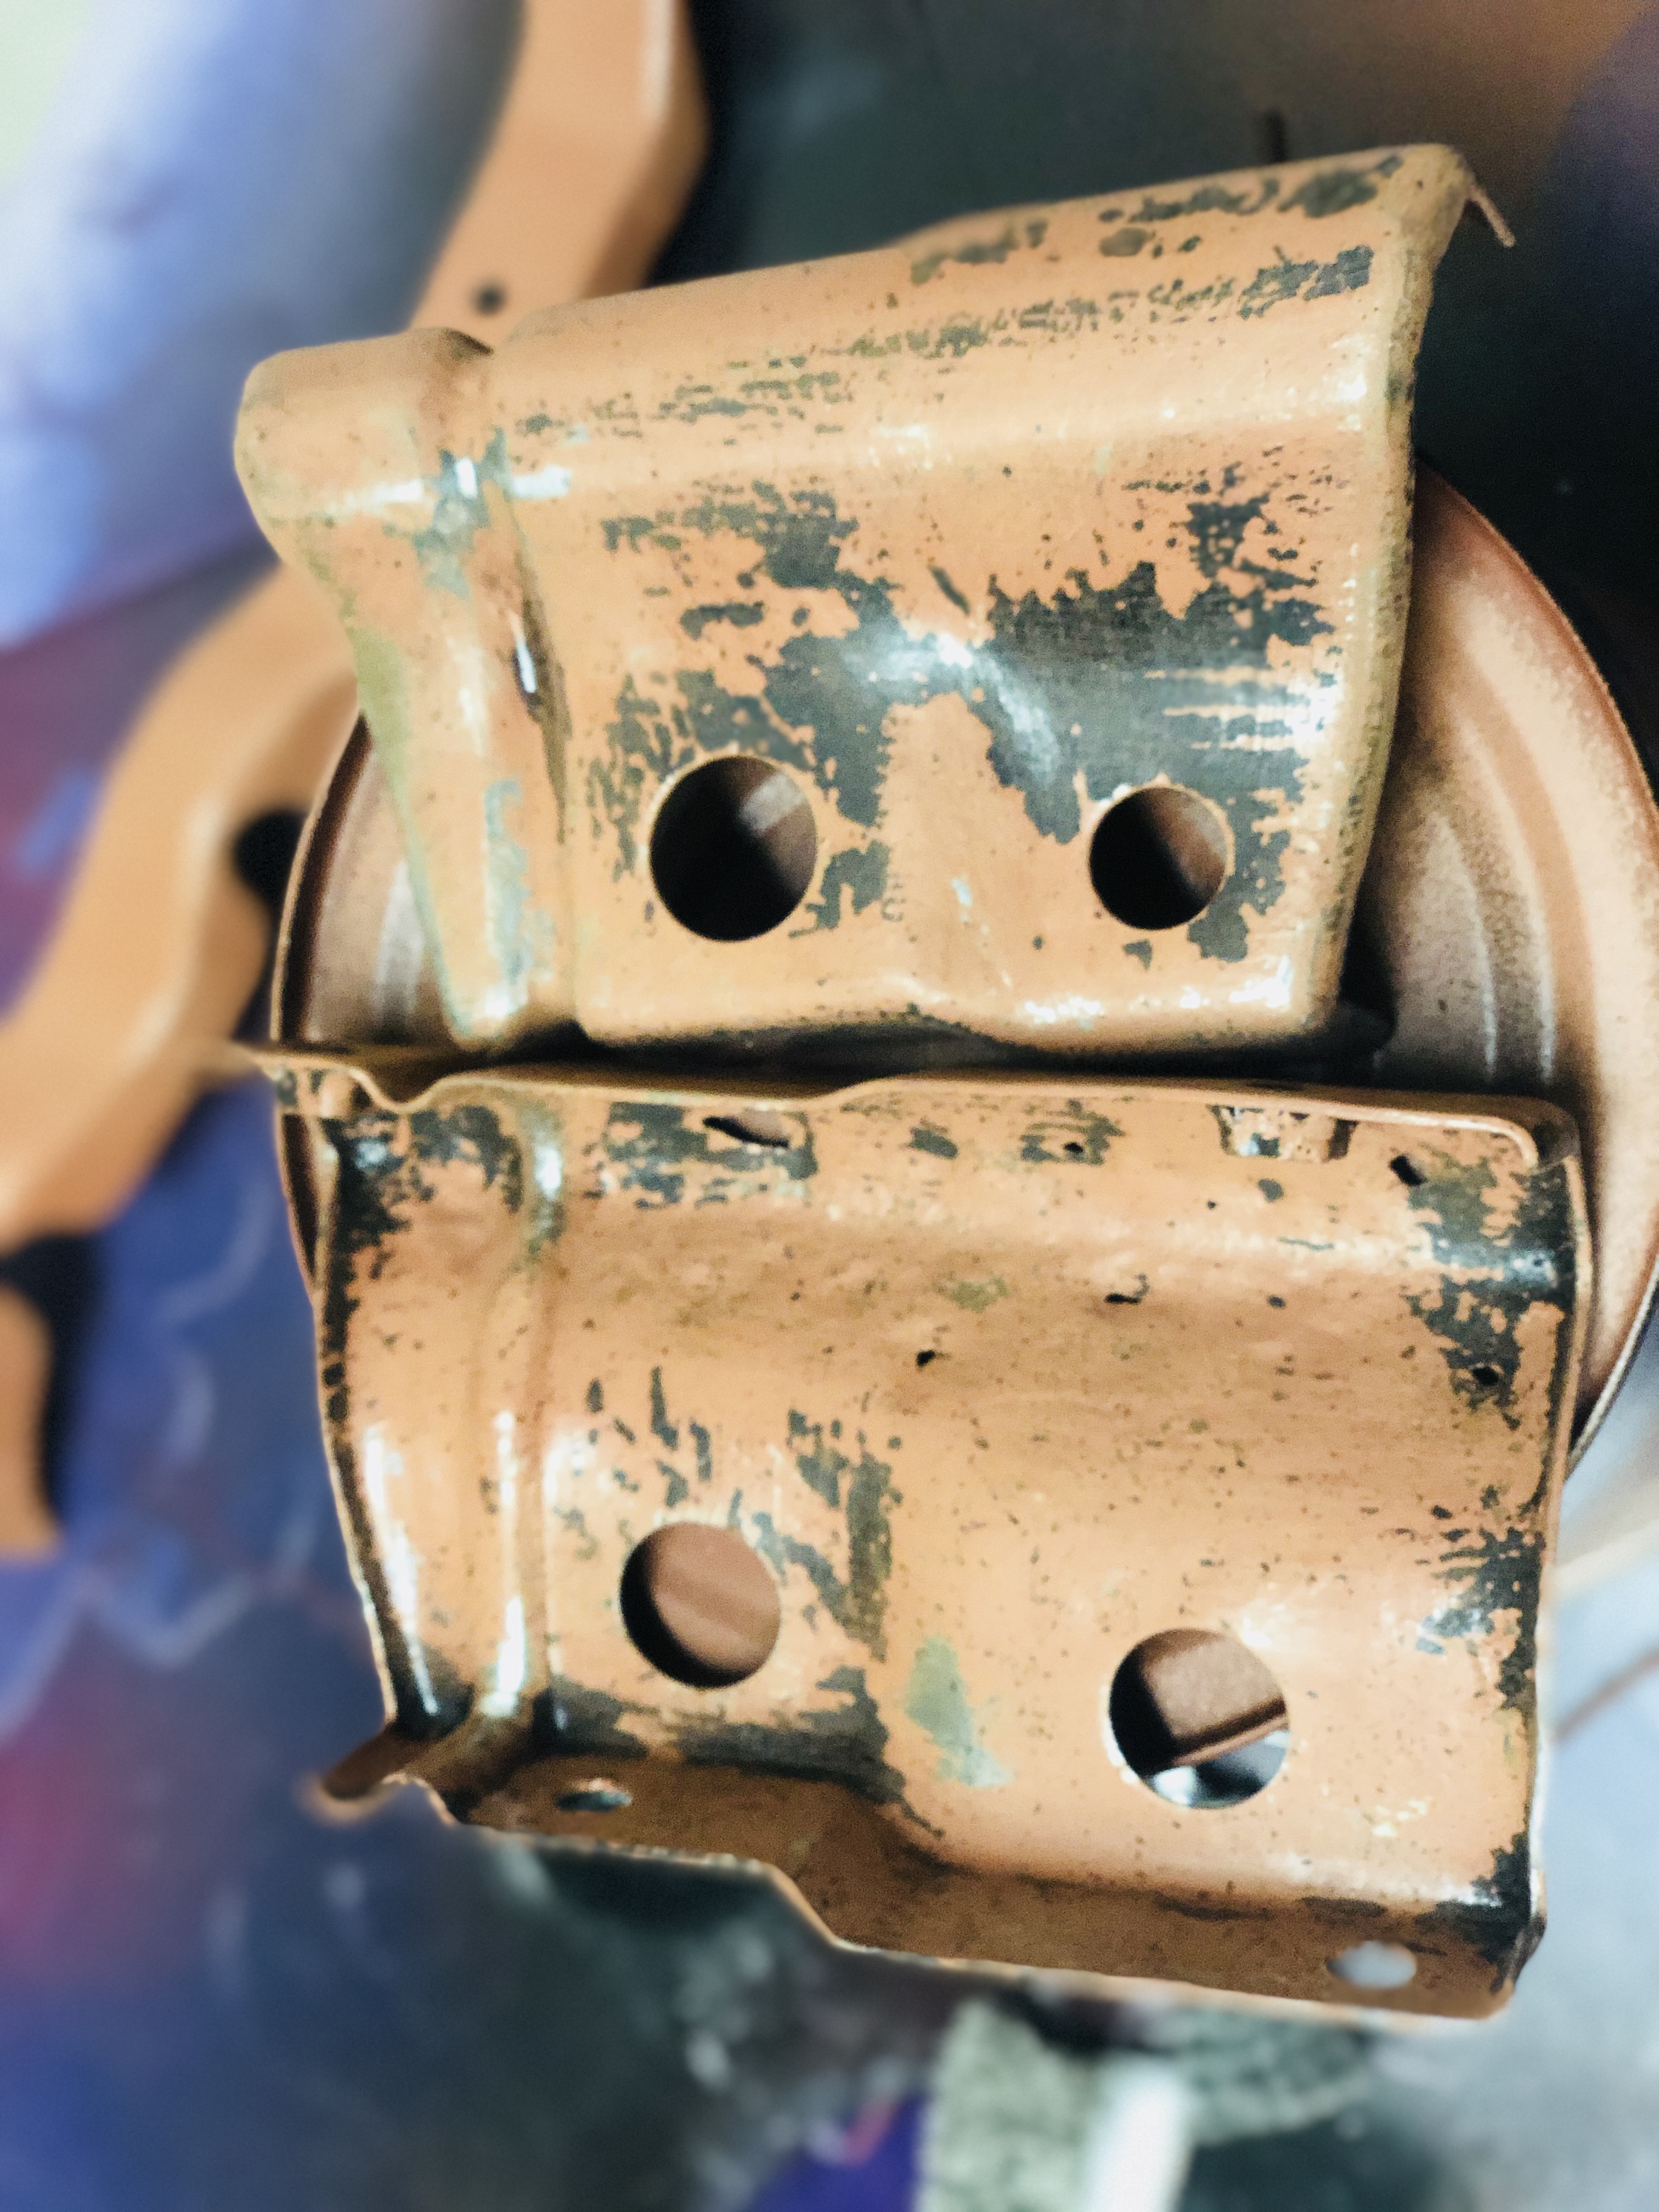
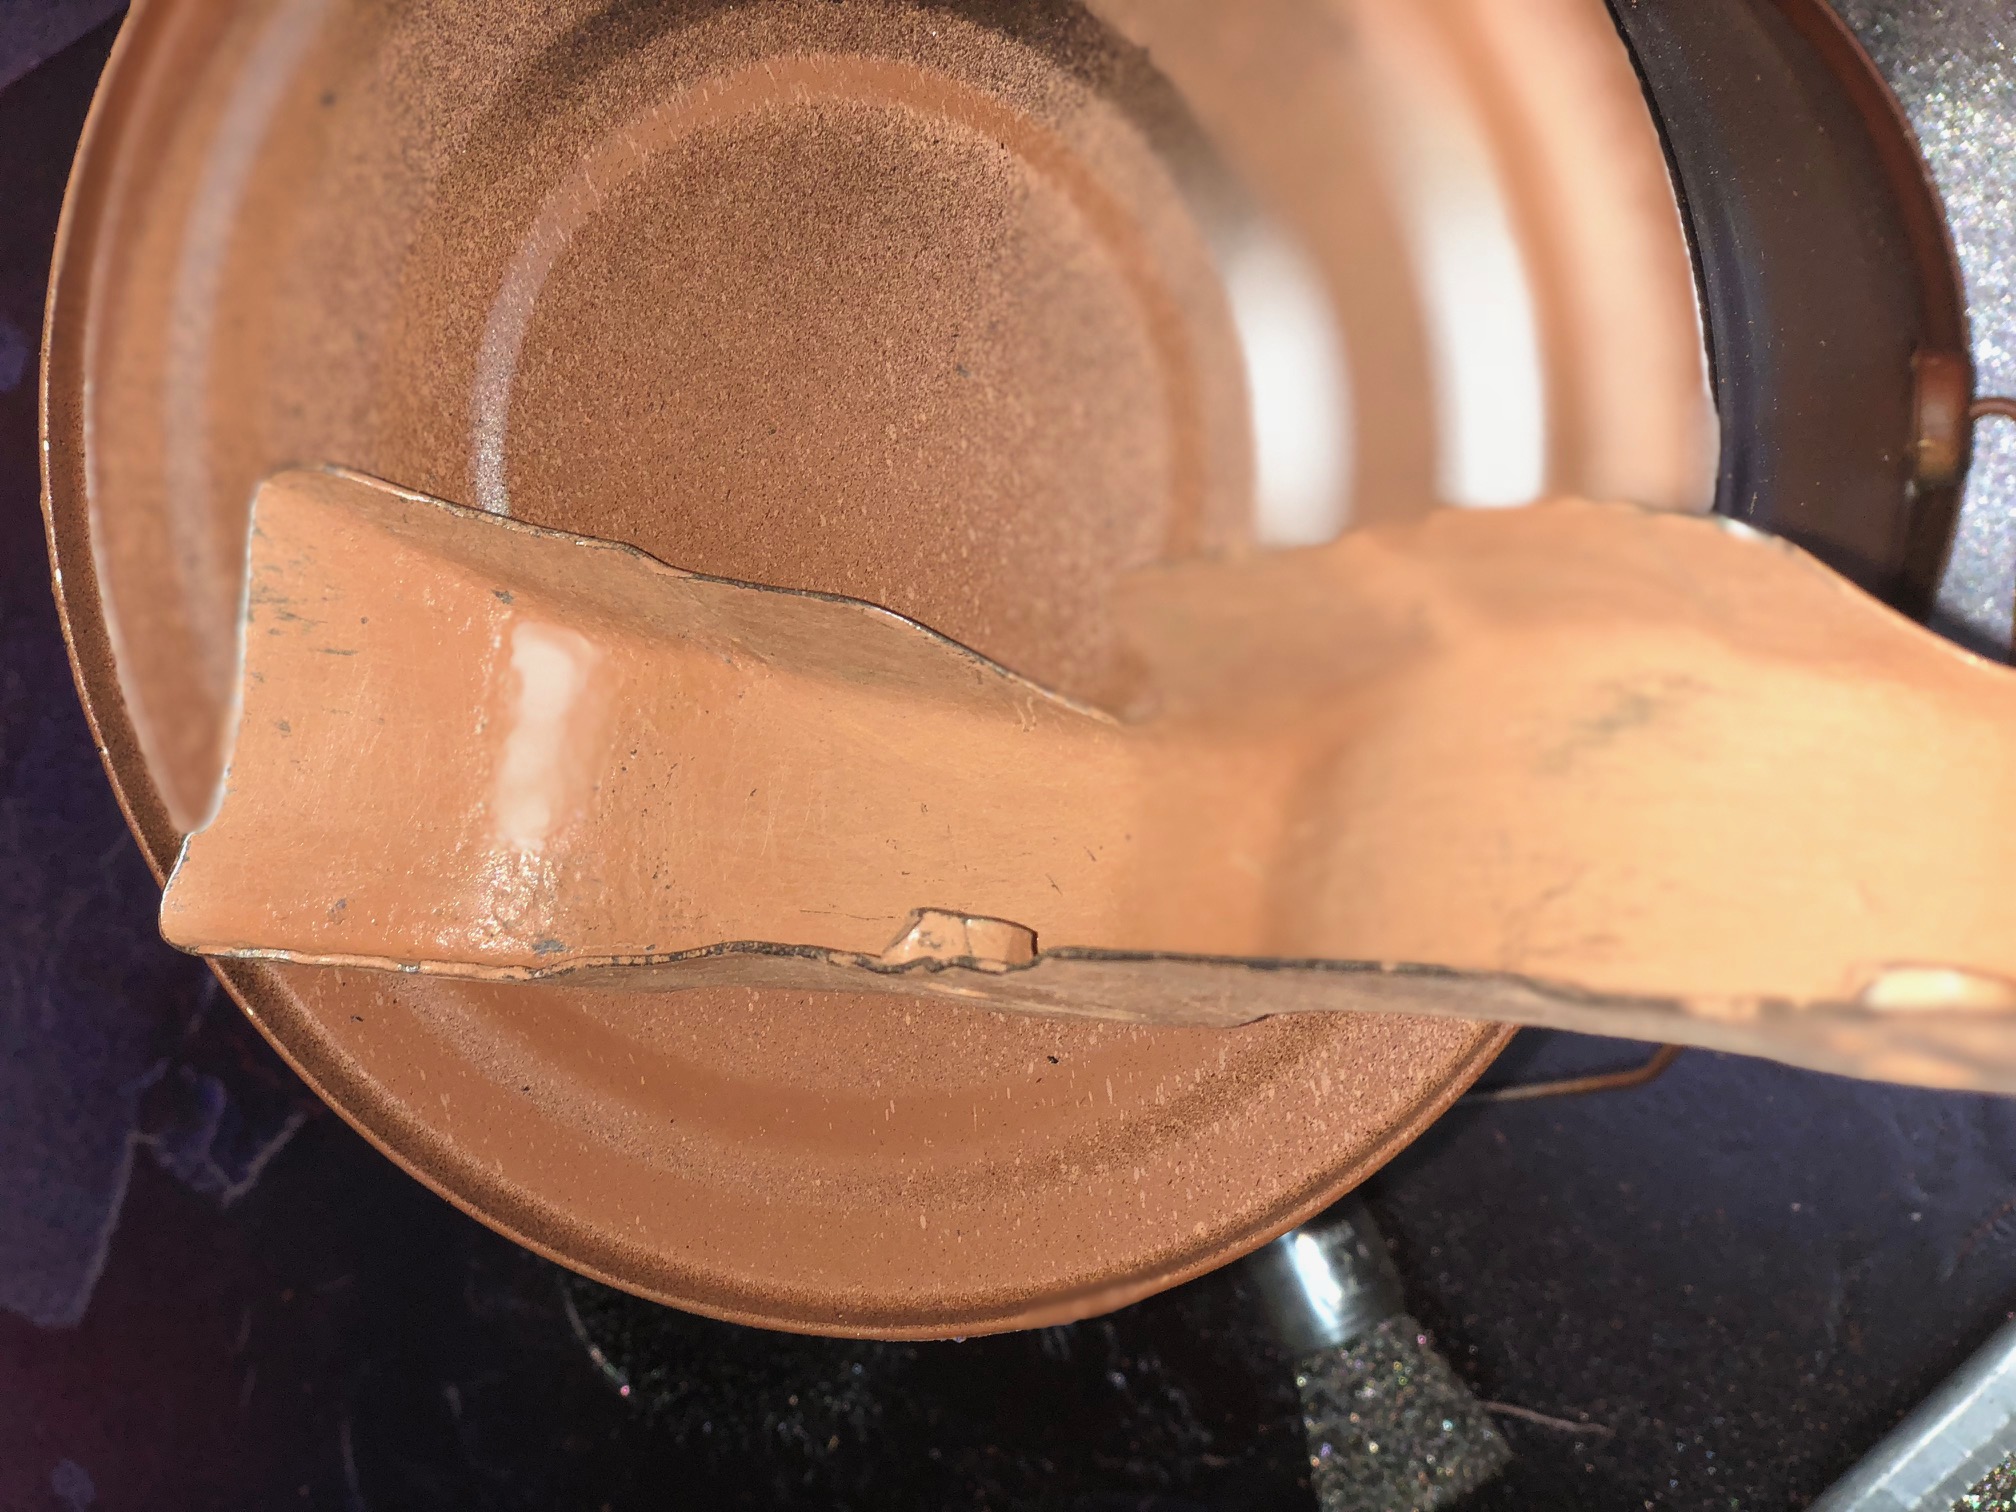
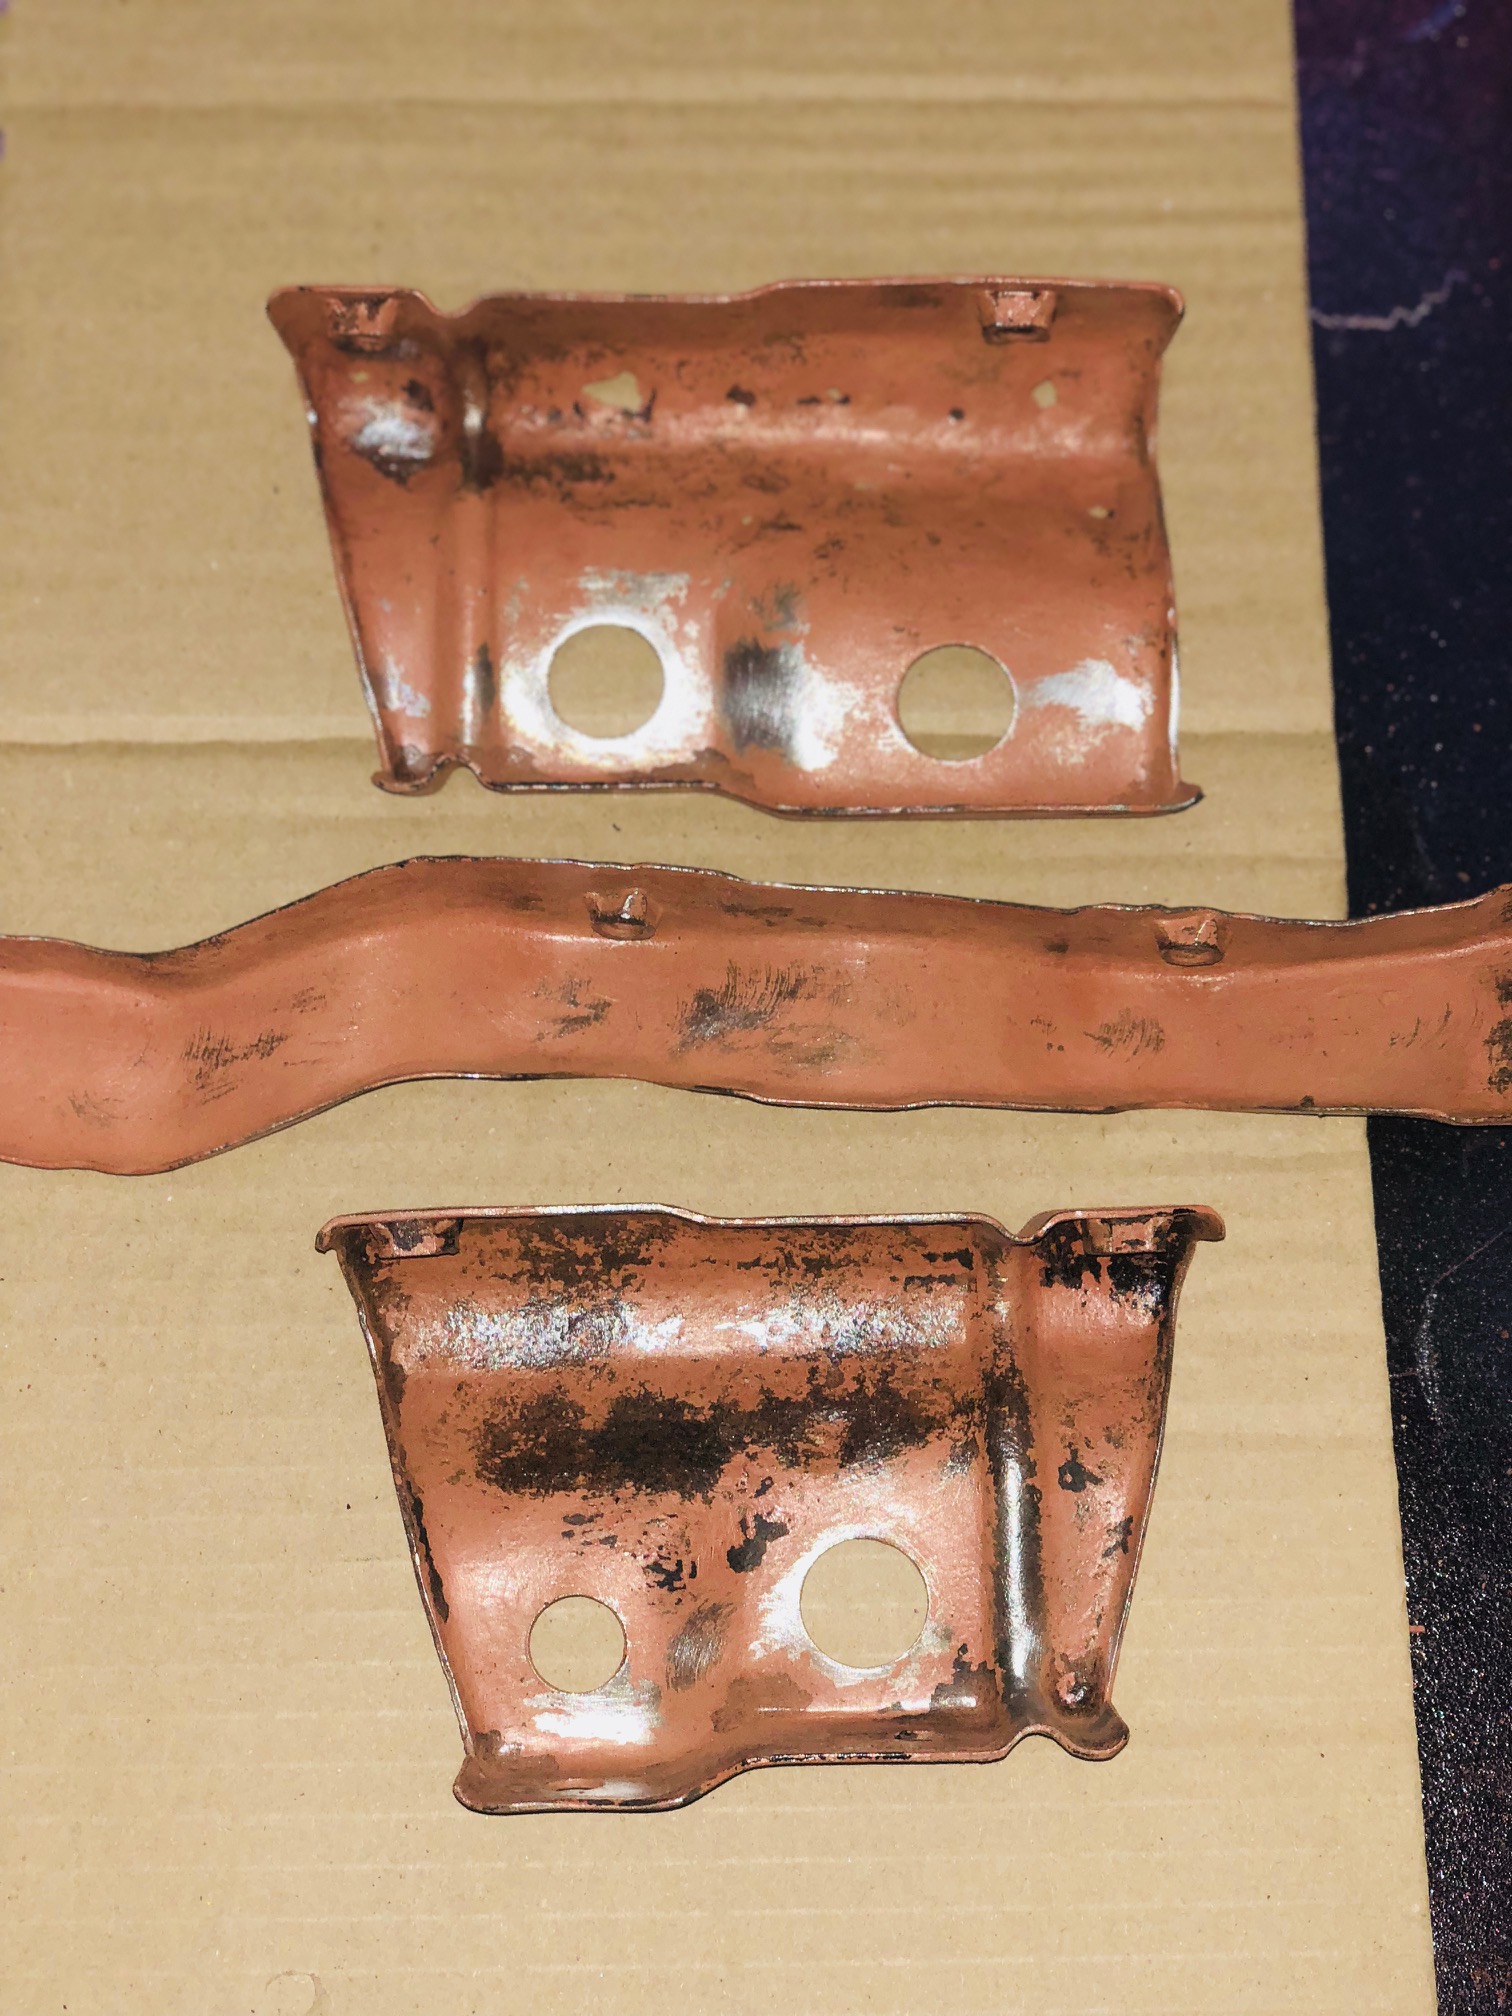
There are three brackets in all, and here they are they arrived to us.
Upon receiving the items, we knew they would have to be refinished, ideally blasted, welded, and then refinished. However time was not on out side, we were doing this as a favour for the customer, and figured we could do a brief guide to point out why and where it went wrong for the customer.
With the customers approval, we had a look and the issues are as follows.
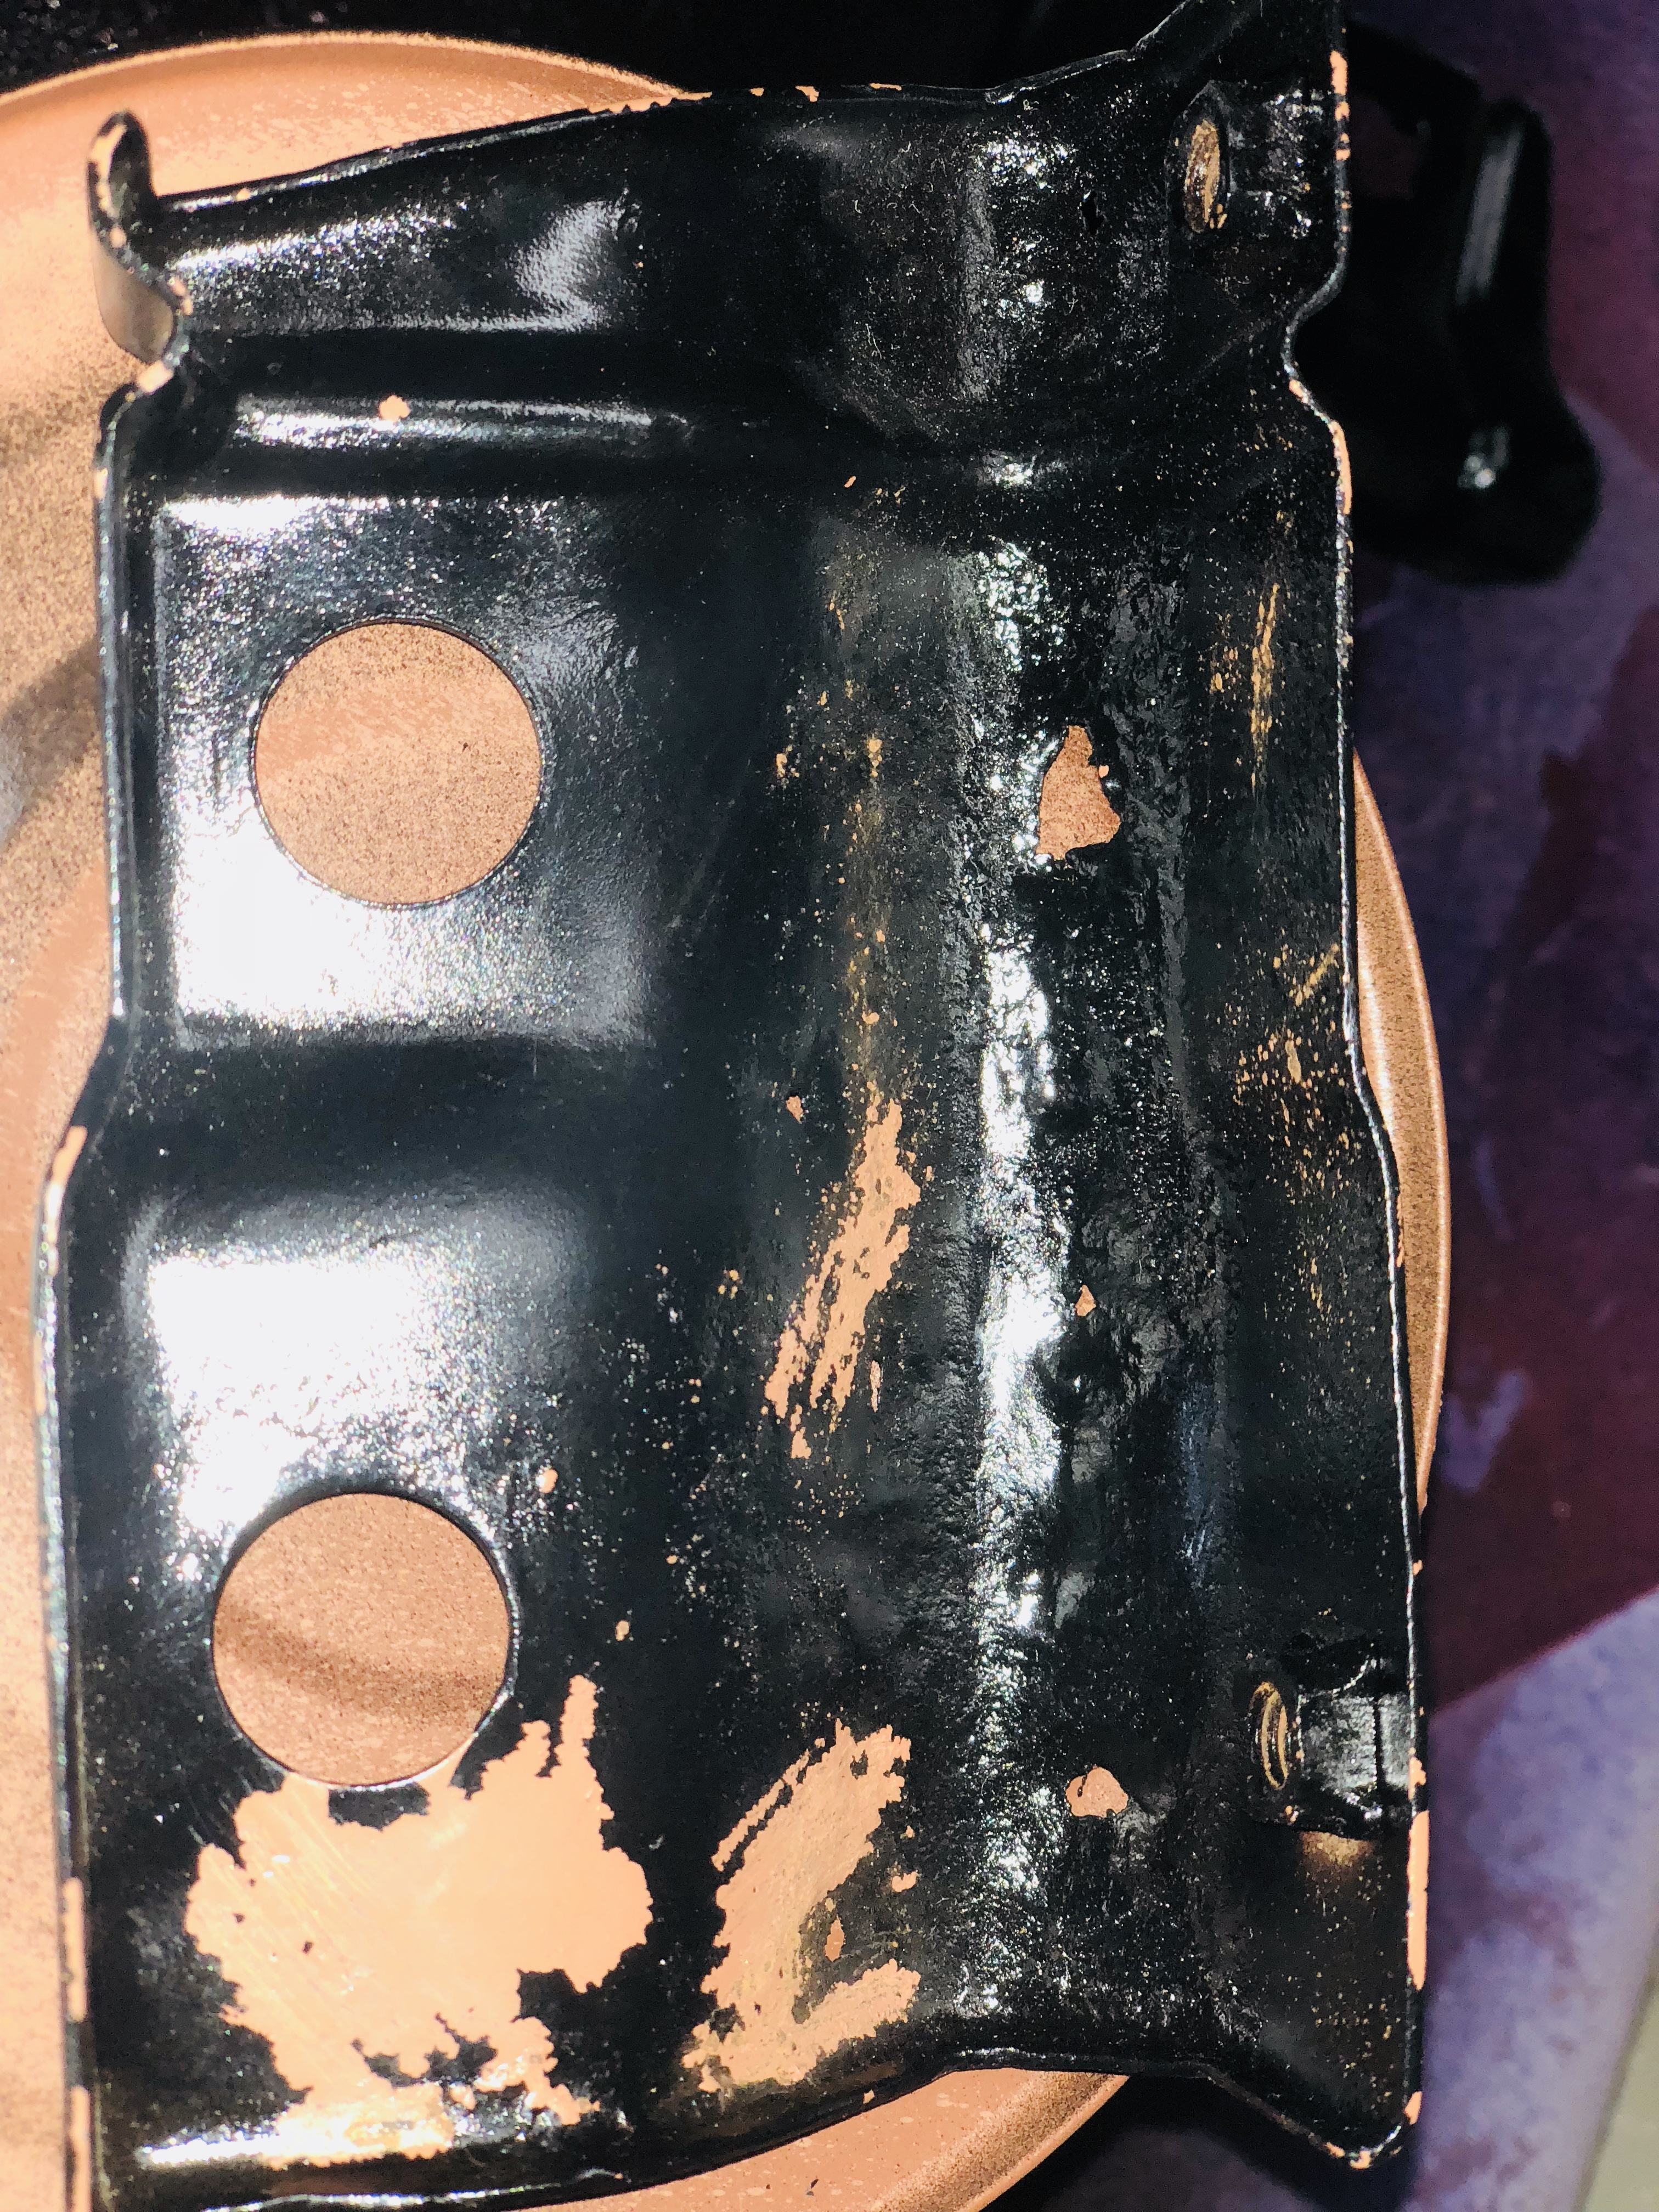
- Several areas of the steel have not been prepped, or prepped sufficiently. This has resulted in RCP coming away. The two main areas are the ends of the long bracket where the steel is still polished, promoting poor adhesion for the paint.
- Poor encapsulation. The coating on the main bracket has been applied in one heavy coat by brush. as a result several bits have been missed, its a little thick in some places, and too thin in others. Hand painting small brackets can be tricky to get a good even finish. We prefer to spray such items.
- Halfords black gloss aerosol is not a high adhesion coating. This means it requires a key (scothcbrite the surface) on a primer like RCP and as a result the adhesion in some areas is very poor.
- Preparation of corroded areas is insufficient. mainly in the hollow of one bracket the corrosion had not been taken back, and the RCP had been applied too thin. As a result you end up with low adhesion, AND a weak coating not thick enough to resist any damage.
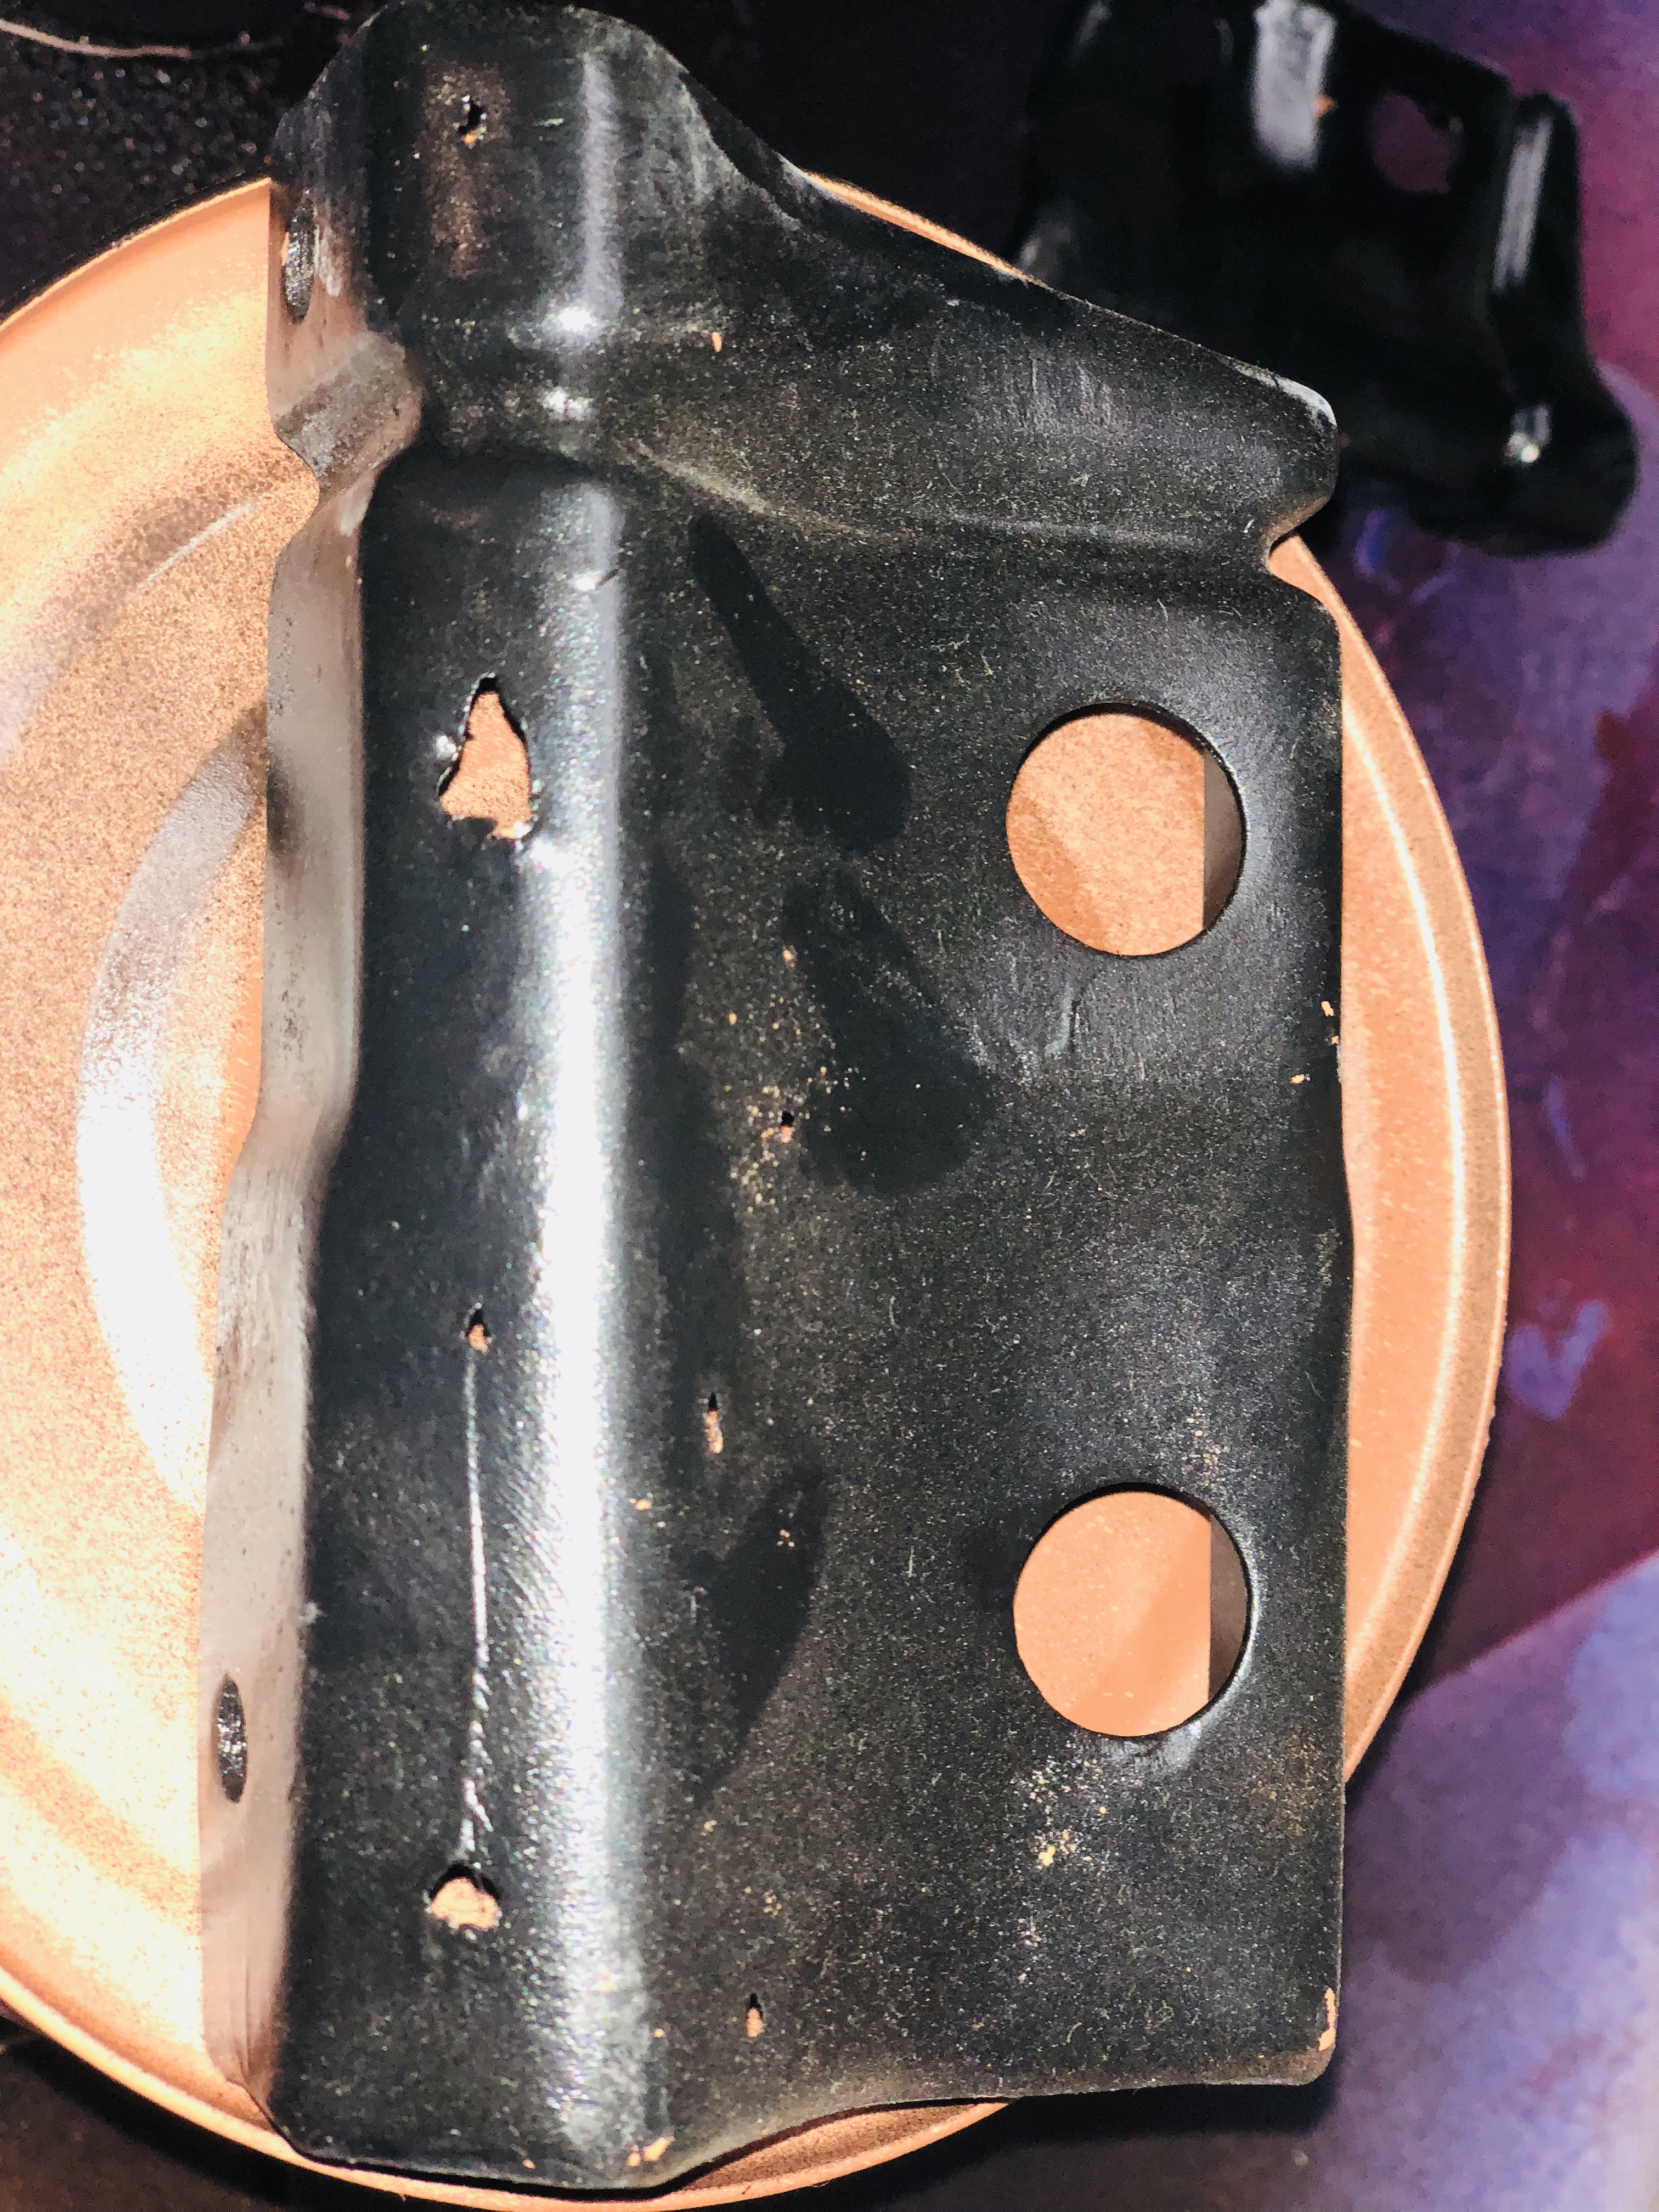
- From point 4, the finish when applying a low film thickness (see guide Re application and film thickness here) also means that the surface defects will show through, as opposed to a heavier coat that will mask the pitting of the steel. RCP is a high build primer and is very suitable as a fine filling primer, as well as direct to rust/ prepared steel.
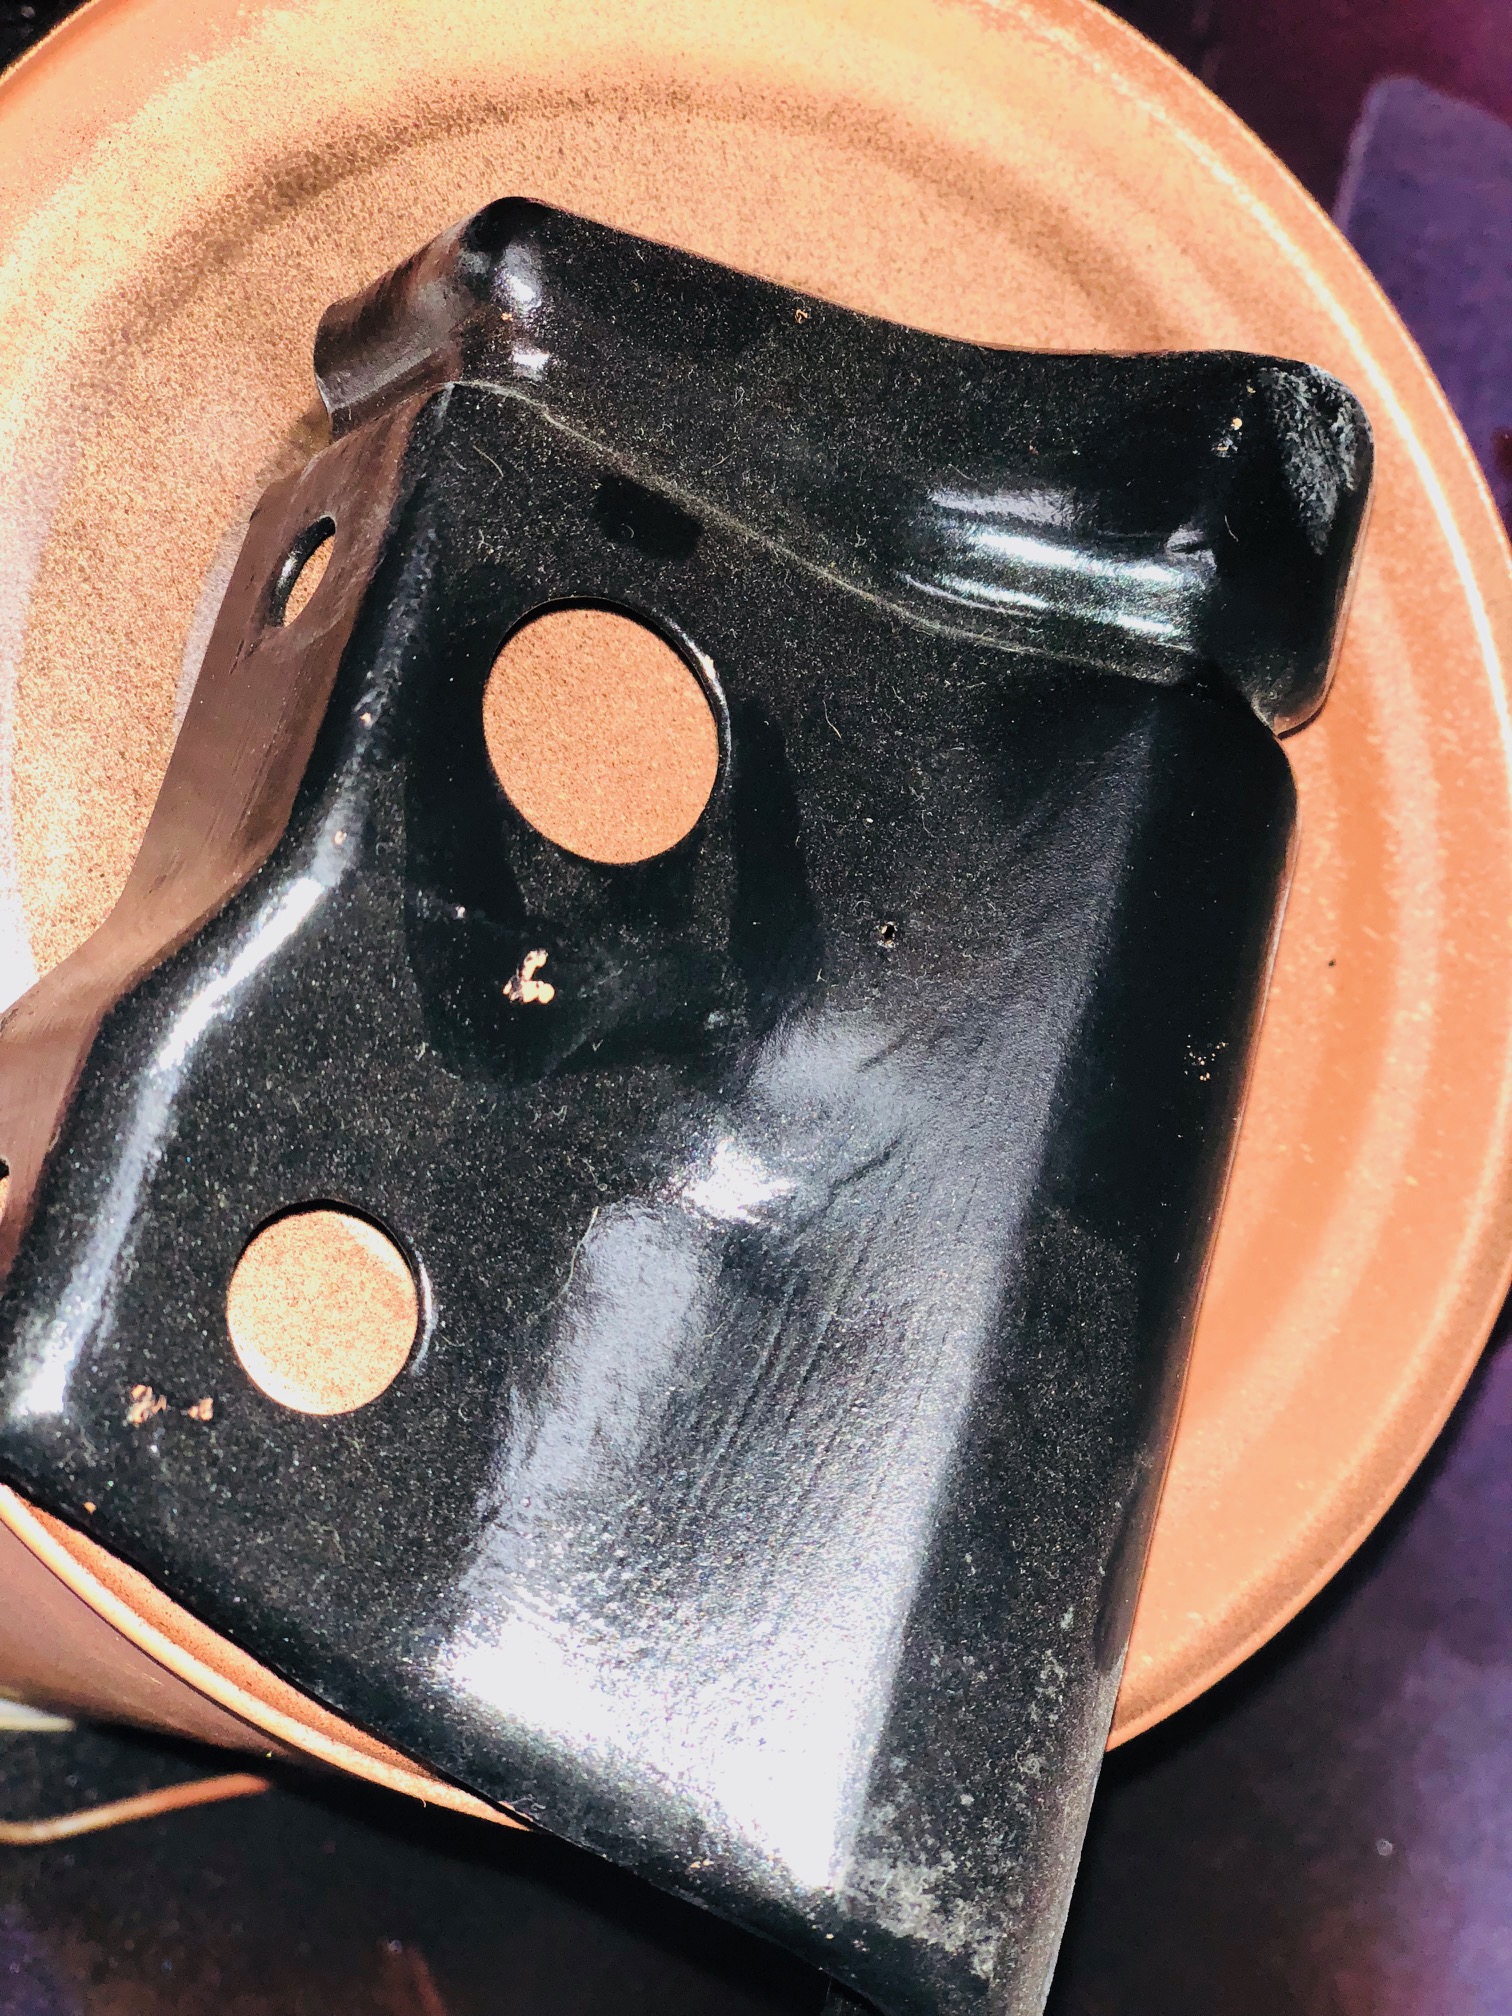
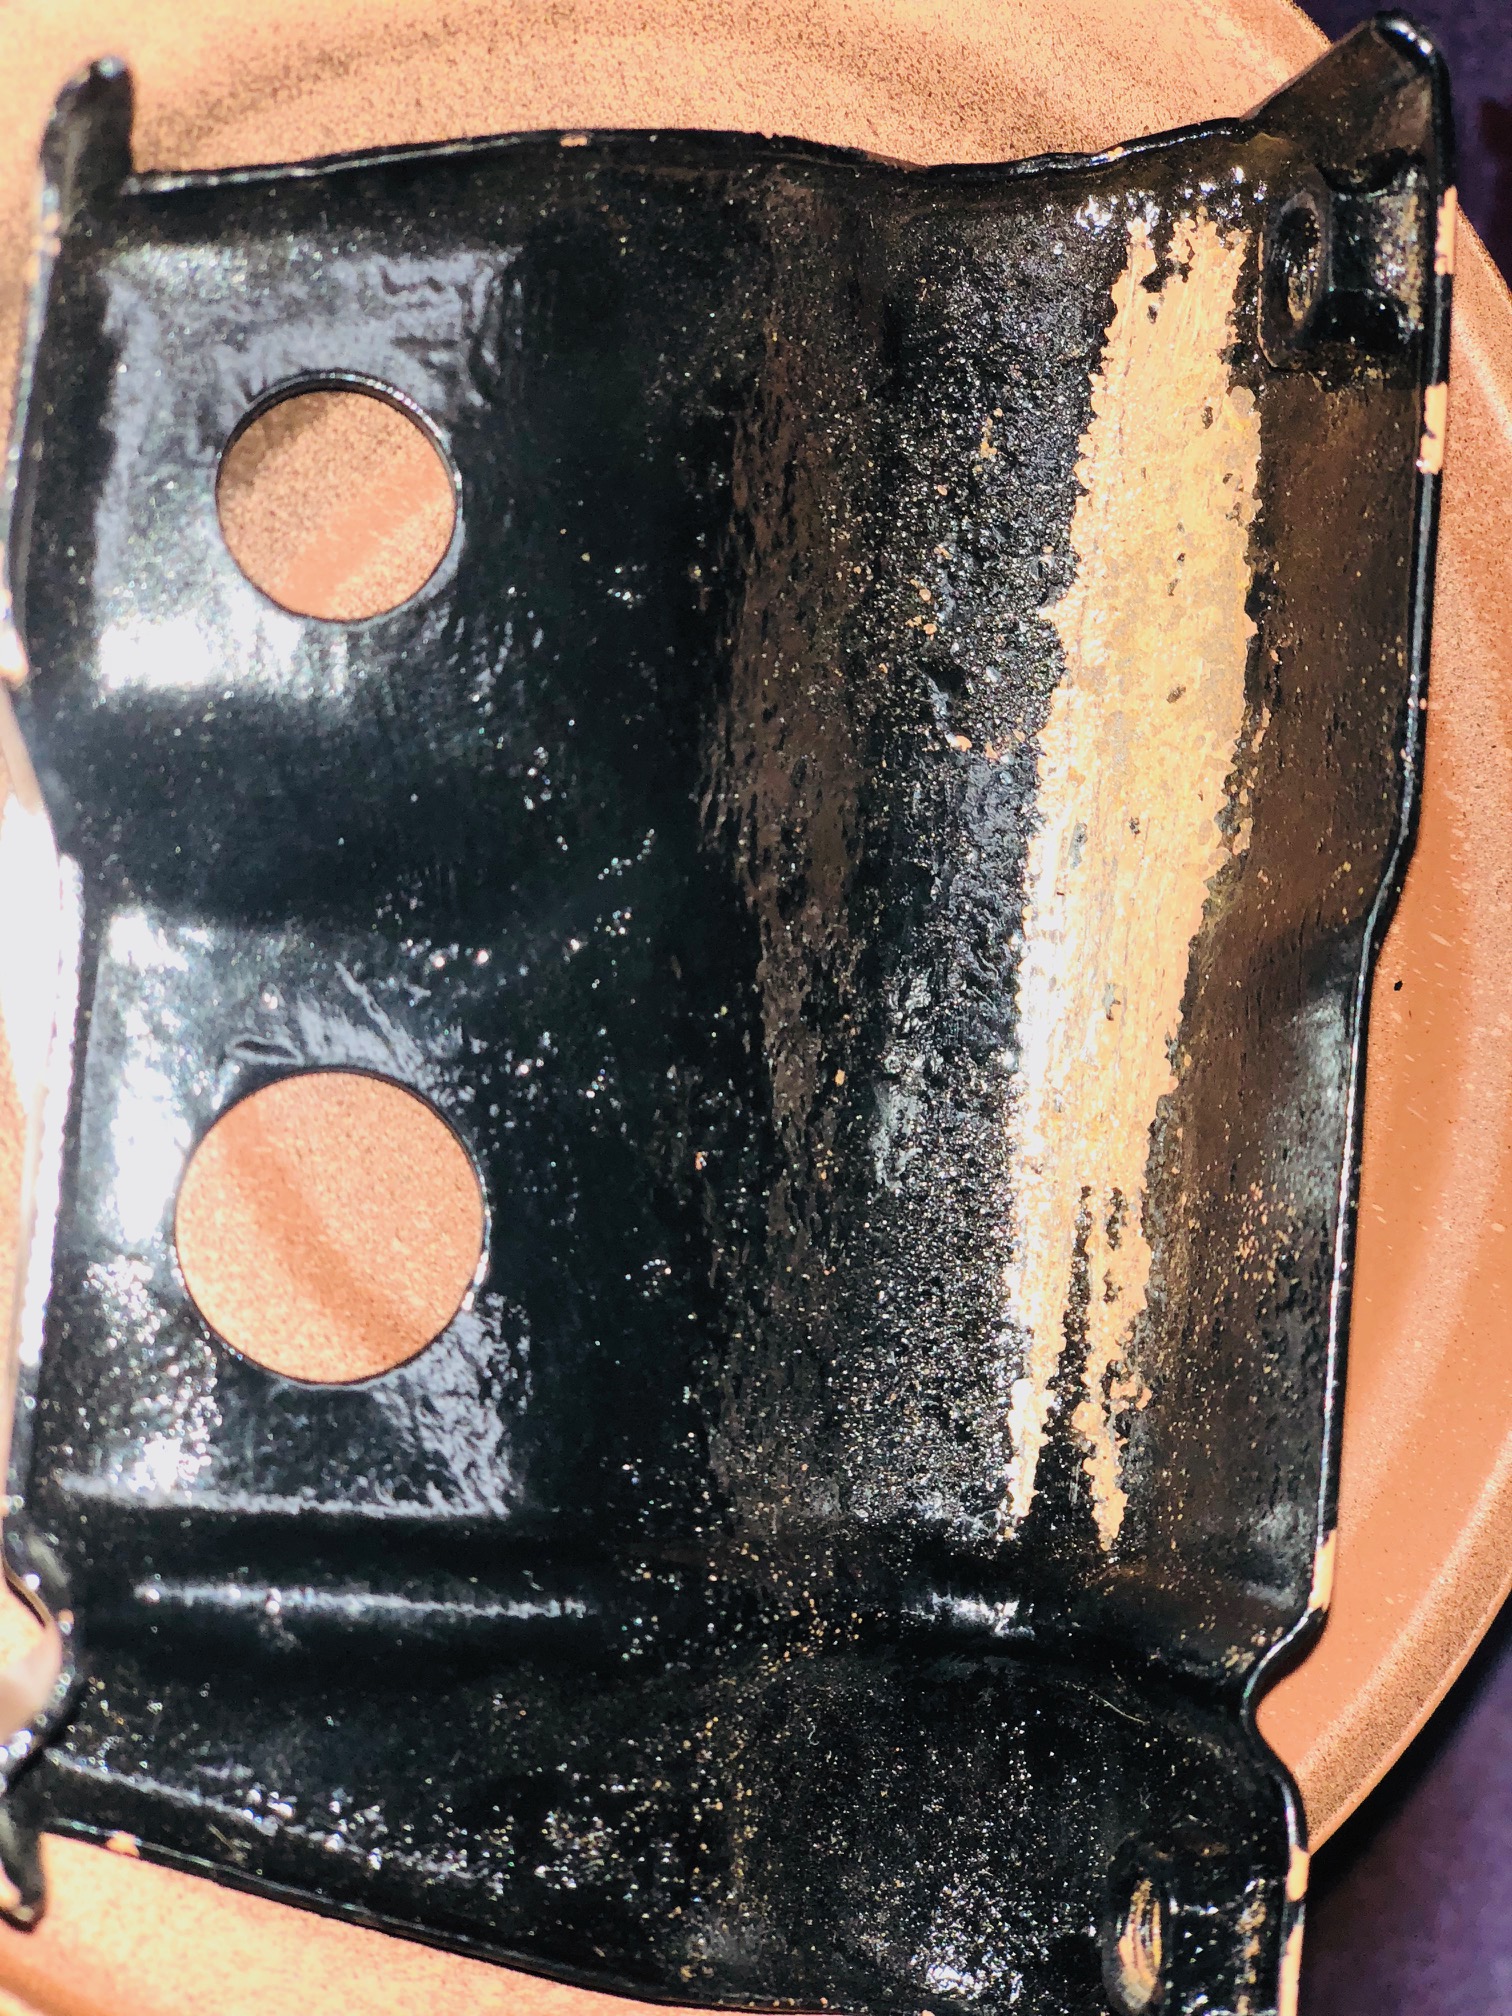
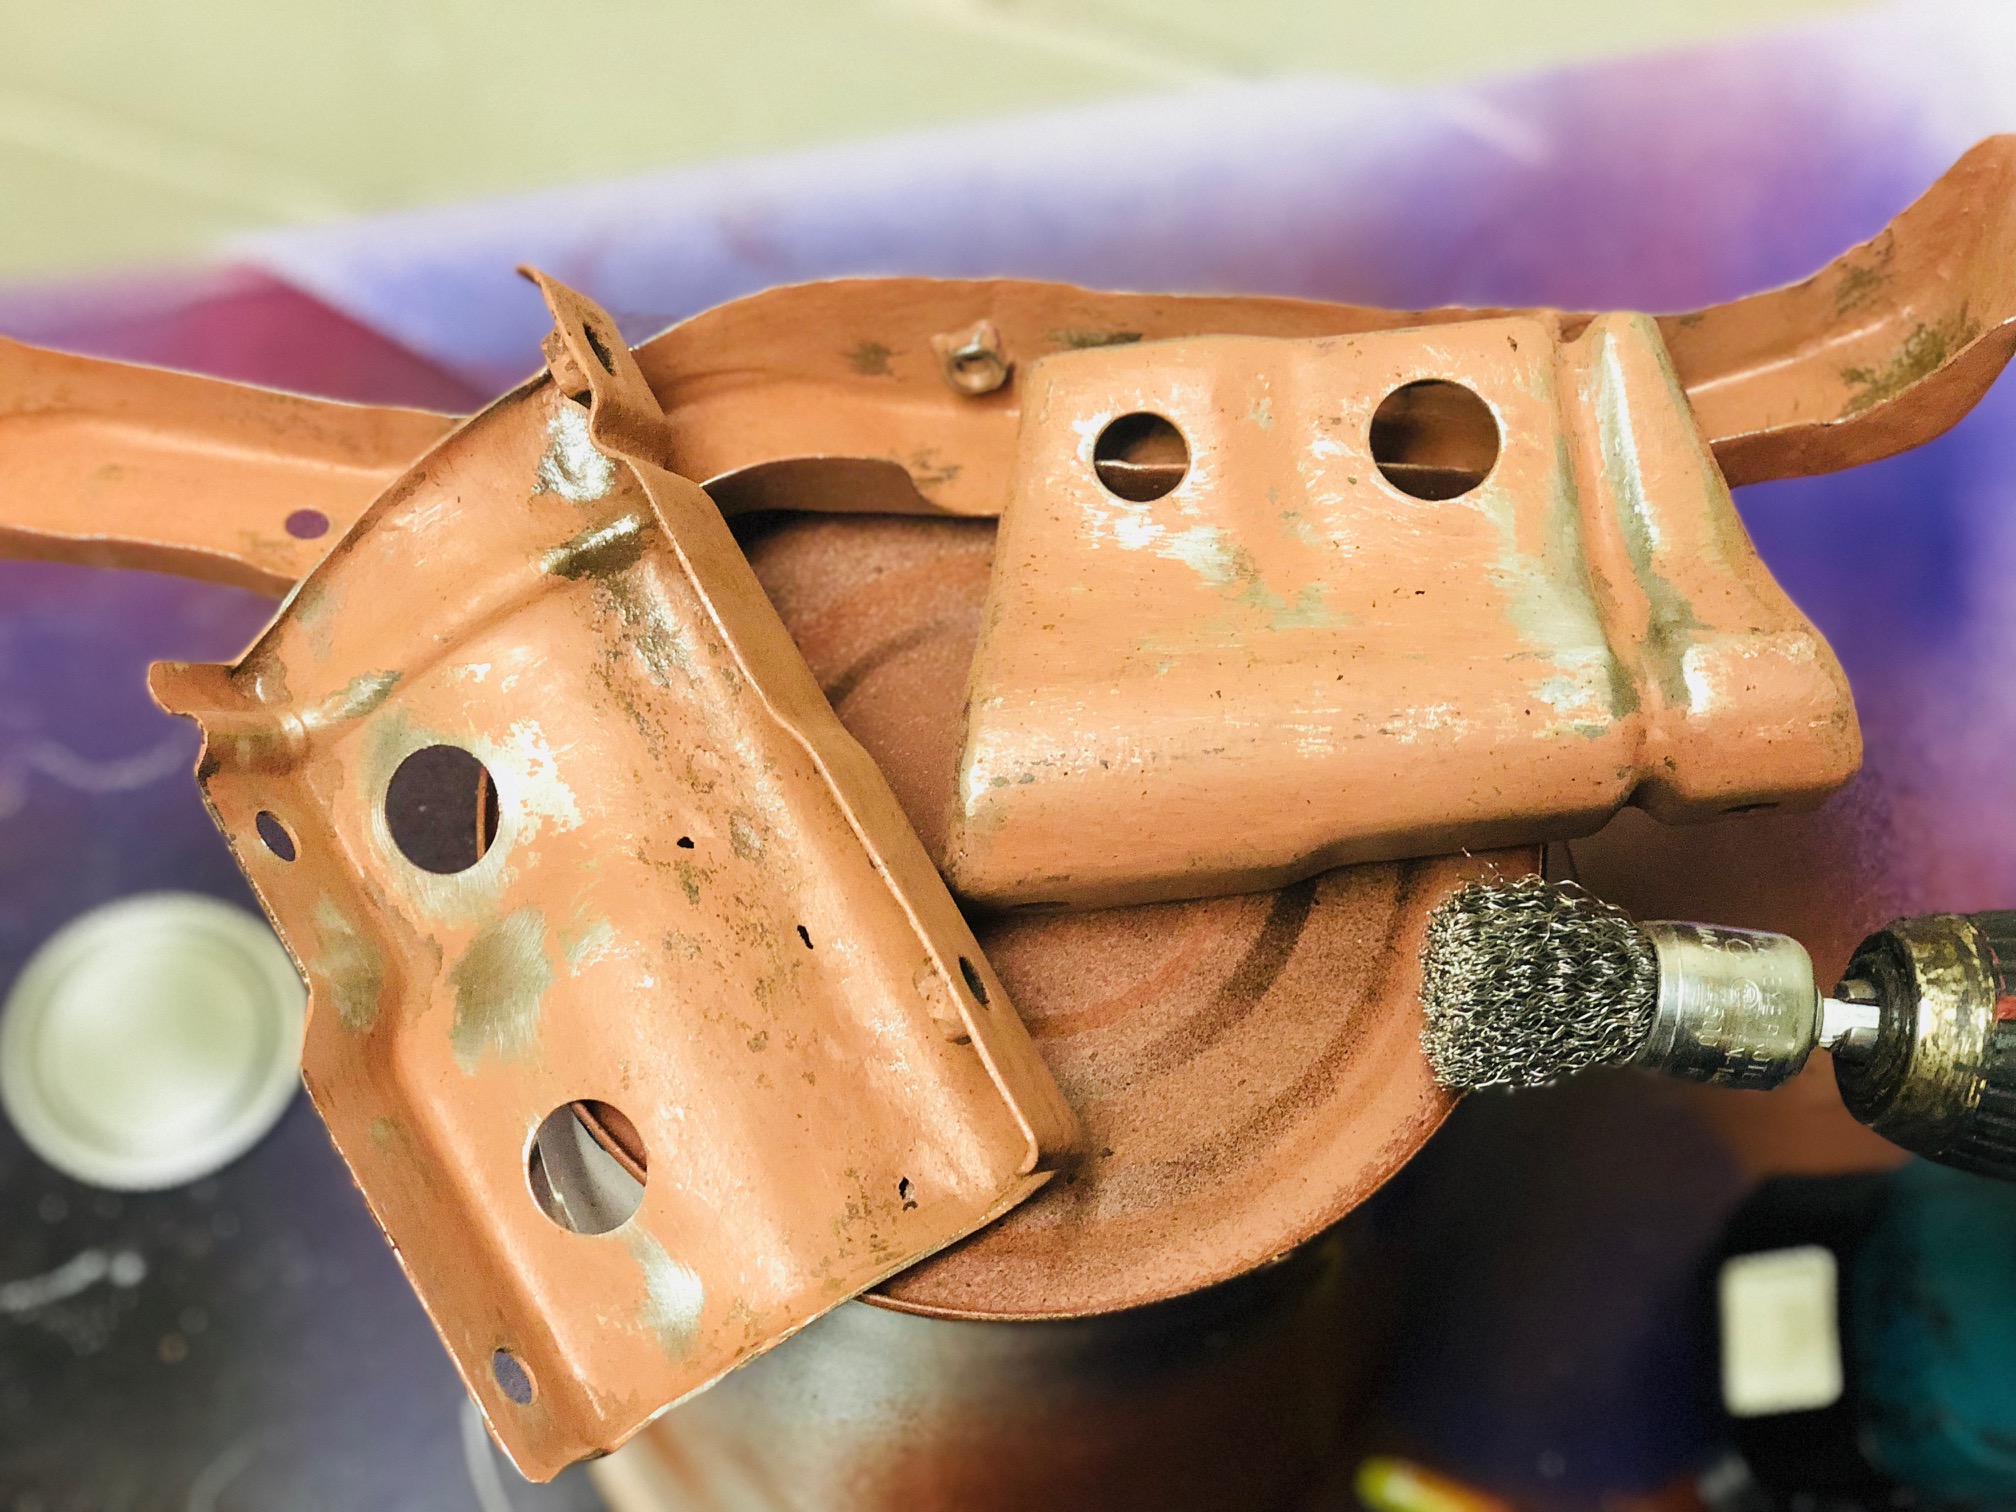
Lacking a blast facility and lots of time we needed to quickly remove all loose paint to get a sound base, and to assess further. We used a stainless steel curved wire brush for this as they are relatively aggressive, but also great for hard to access areas. When doing this ensure you use a clean, or new wire brush, otherwise you run the risk of spreading contamination.
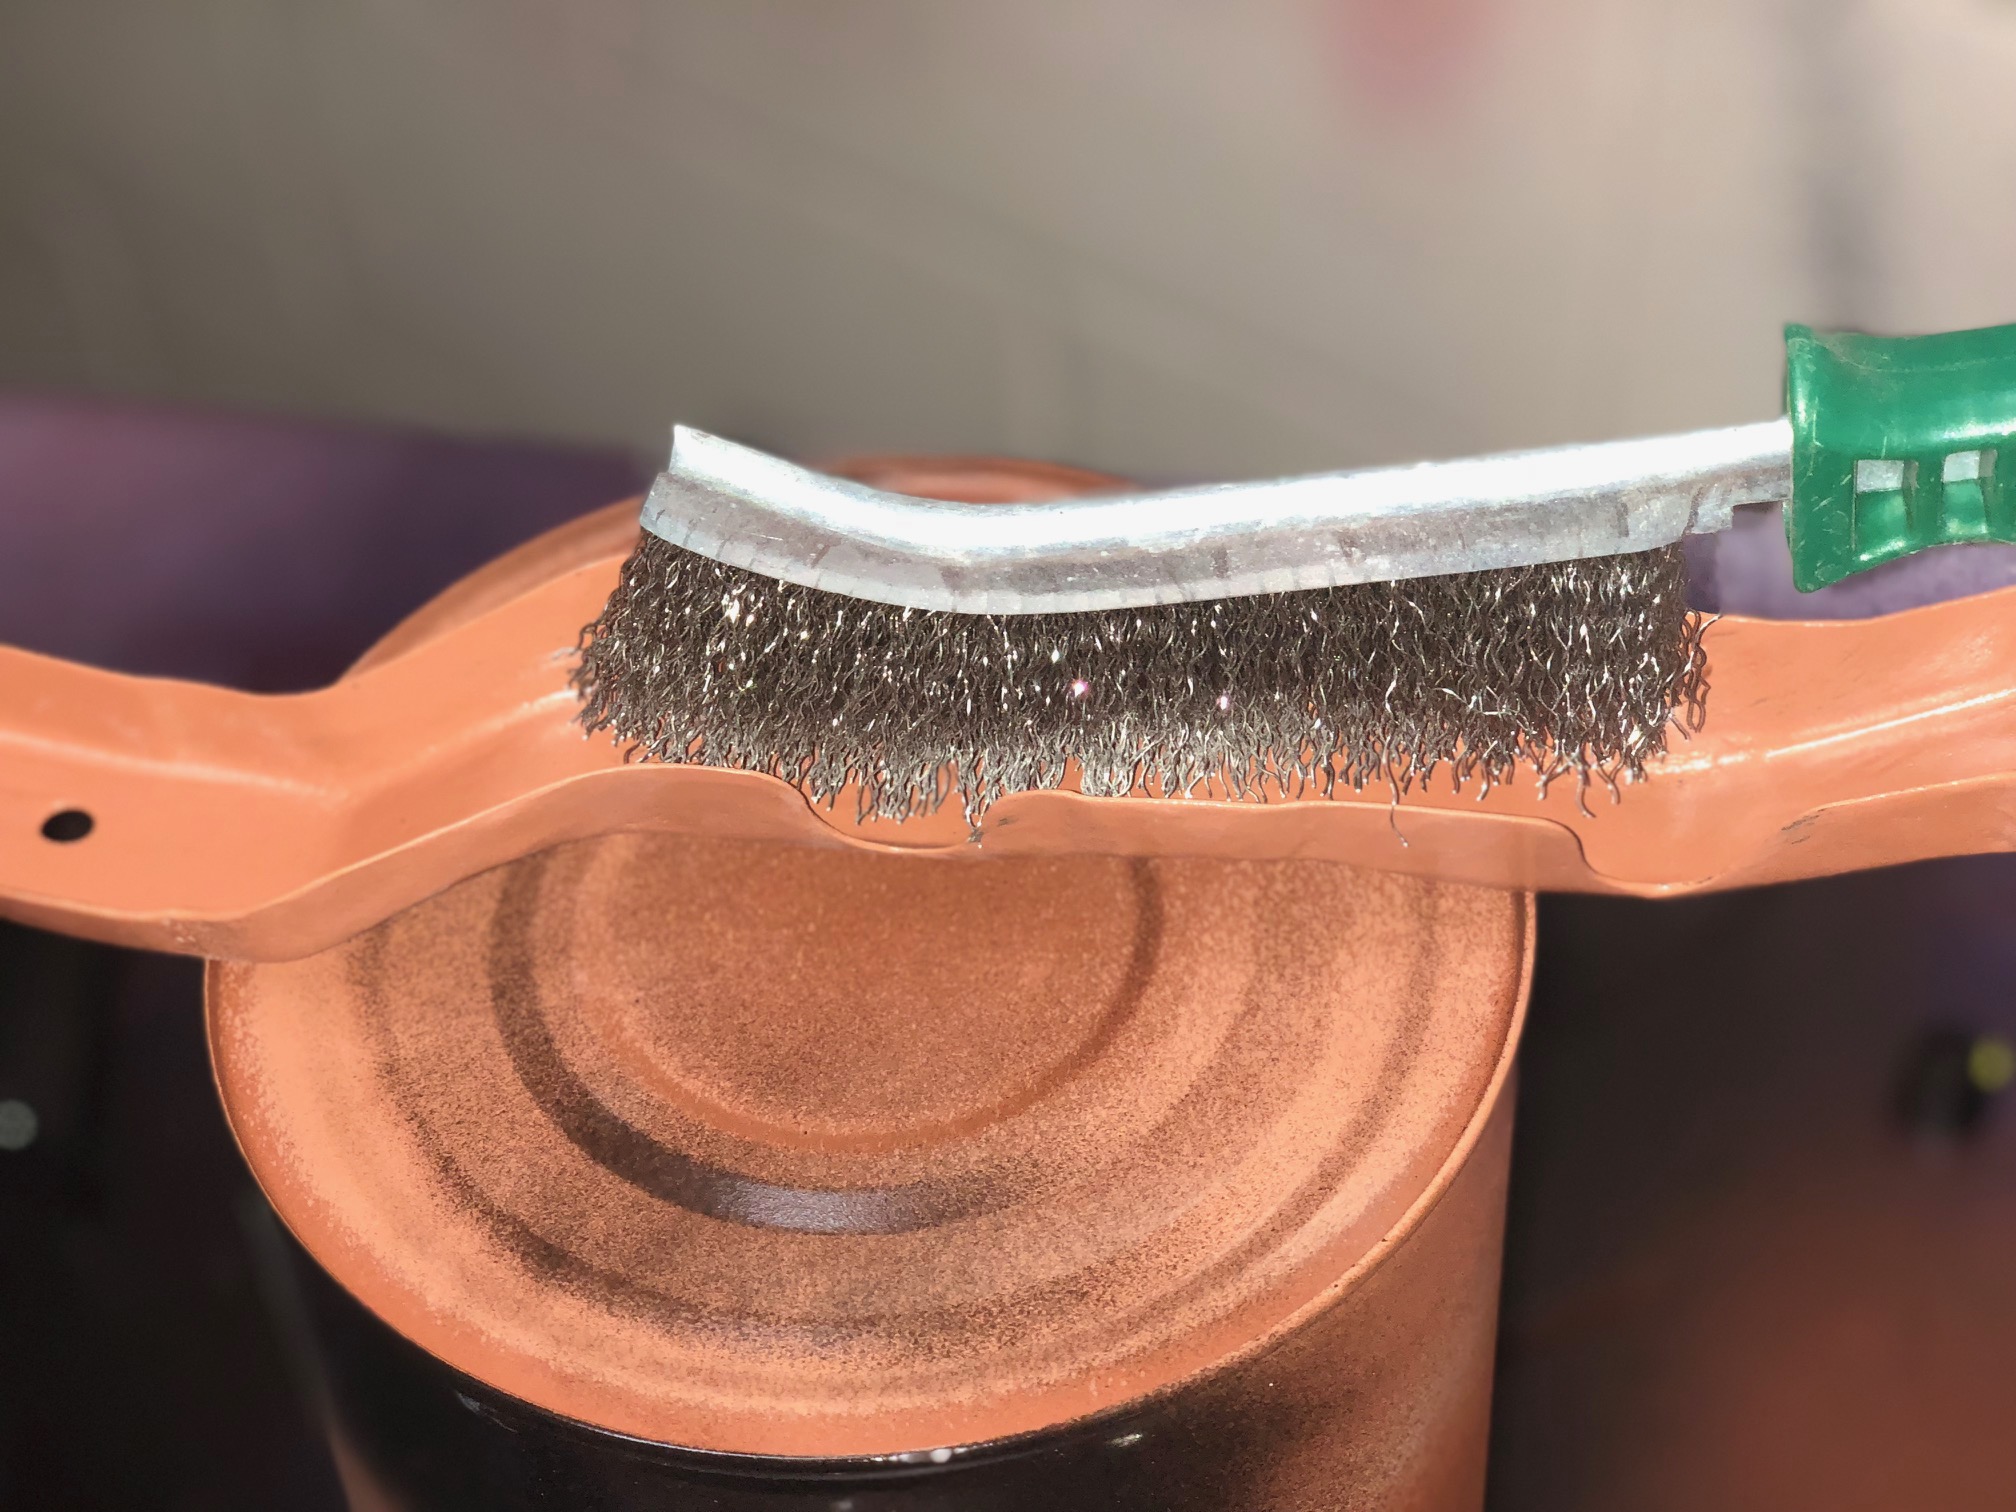
Using the brush remove all traces of loose paint, and any shine from any coating.
You can see from the picture below a good 90% of the halfords gloss black was removed just by wire brush, along with around 10% of the RCP. This is not a reflection of either coating, simply that the steel has some polished areas, we were brutal with the wire brush, and the Halfords gloss black also requires a key prior to application. Missing these steps above causes issues later on.
With the Loose removed we switched over to a Dronco End Brush.
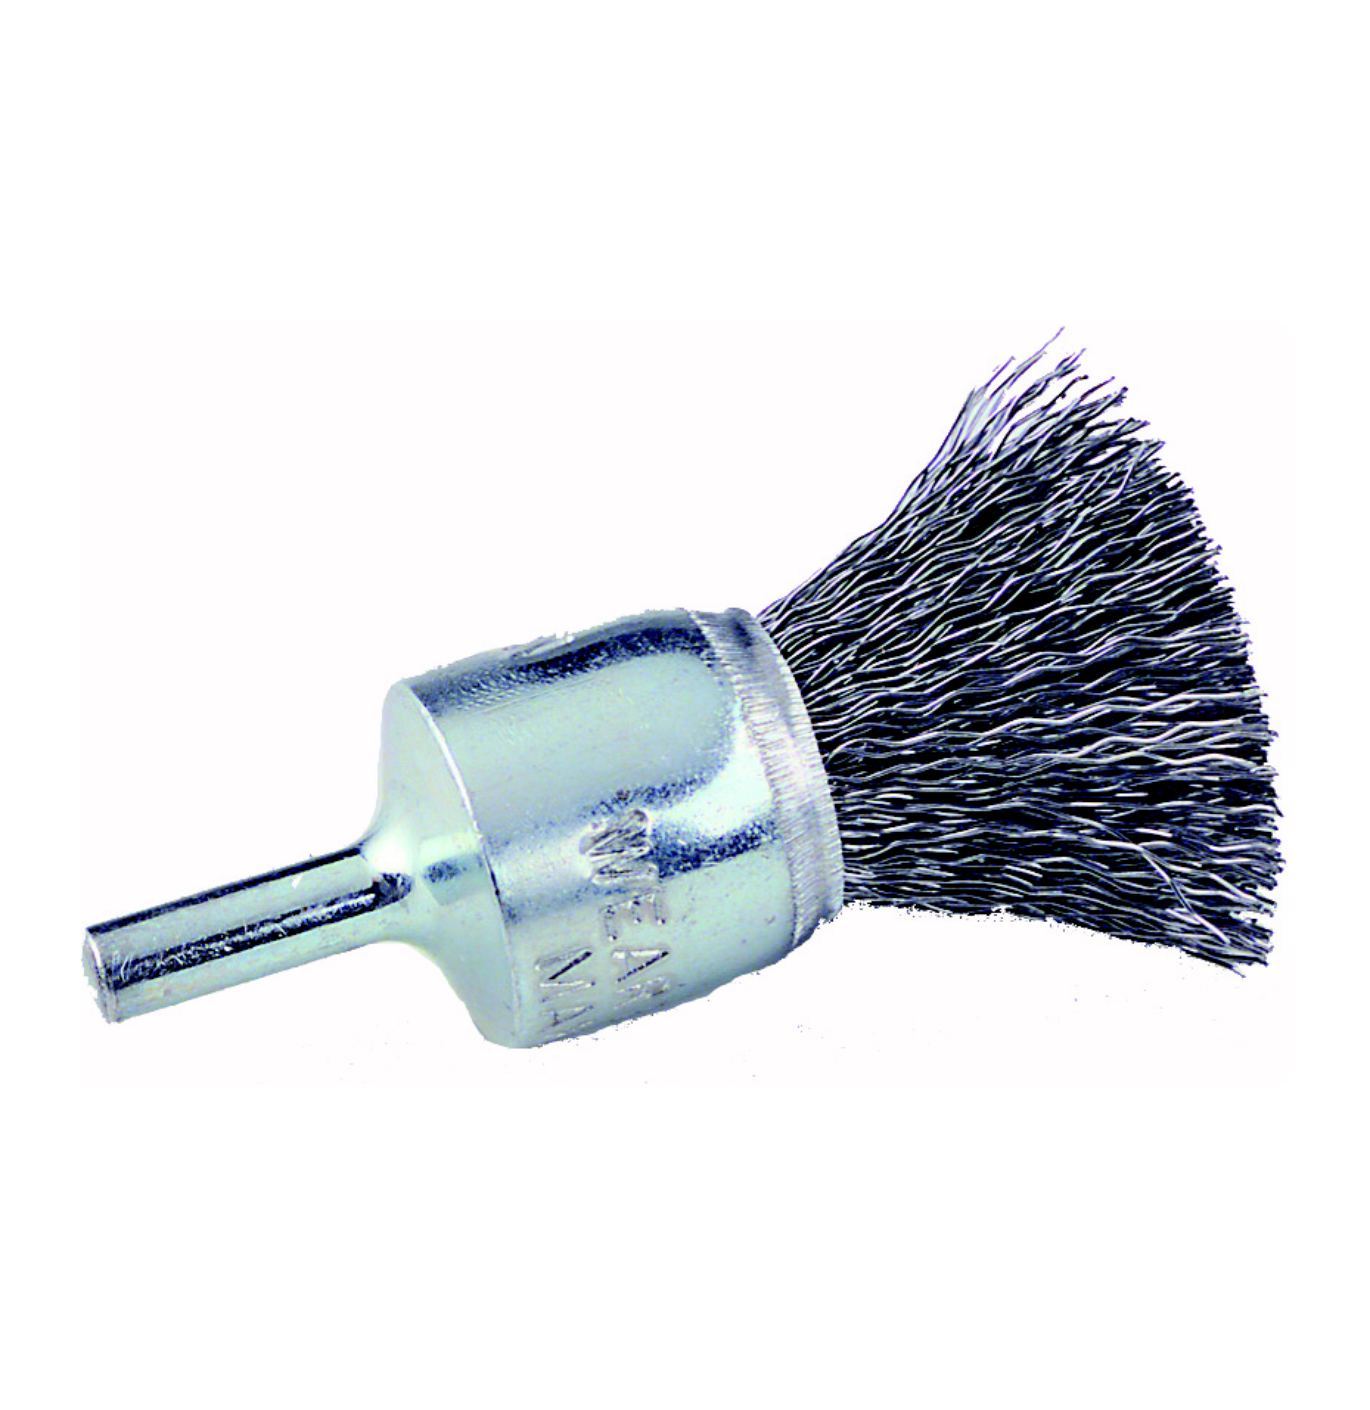
These are aggressive small access wire brushes for drills. They are great for cutting through coatings in small areas.
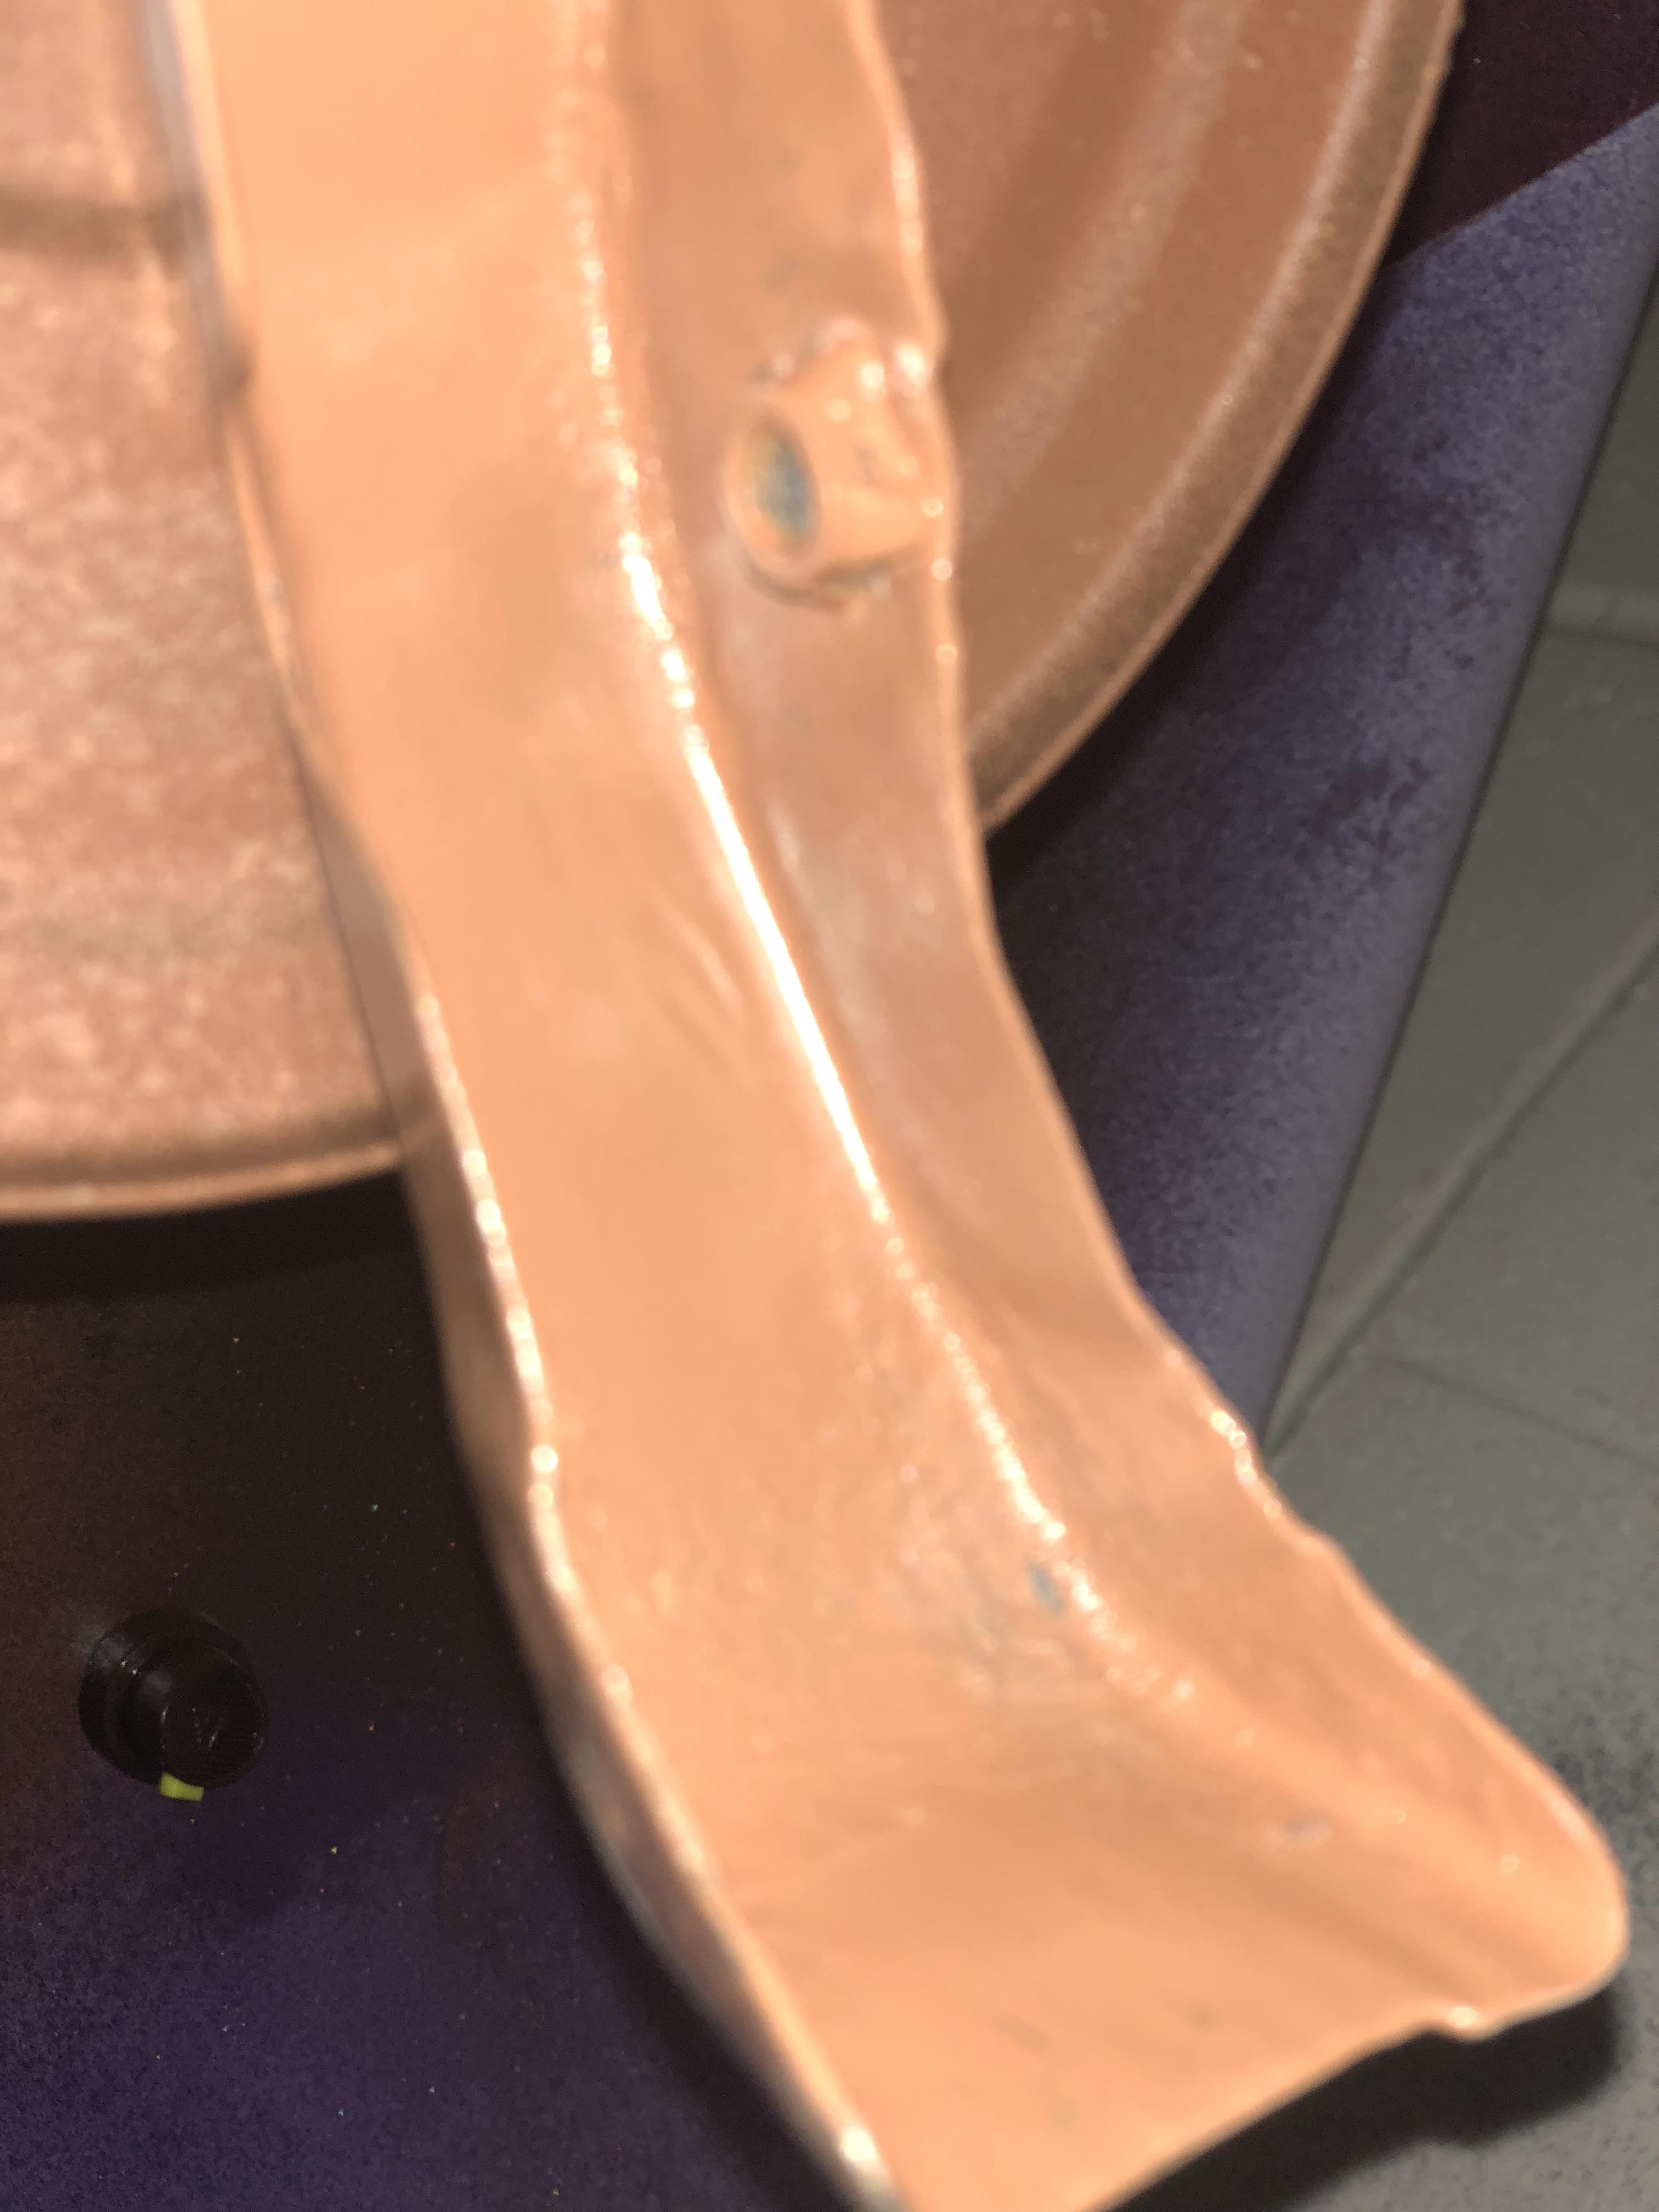
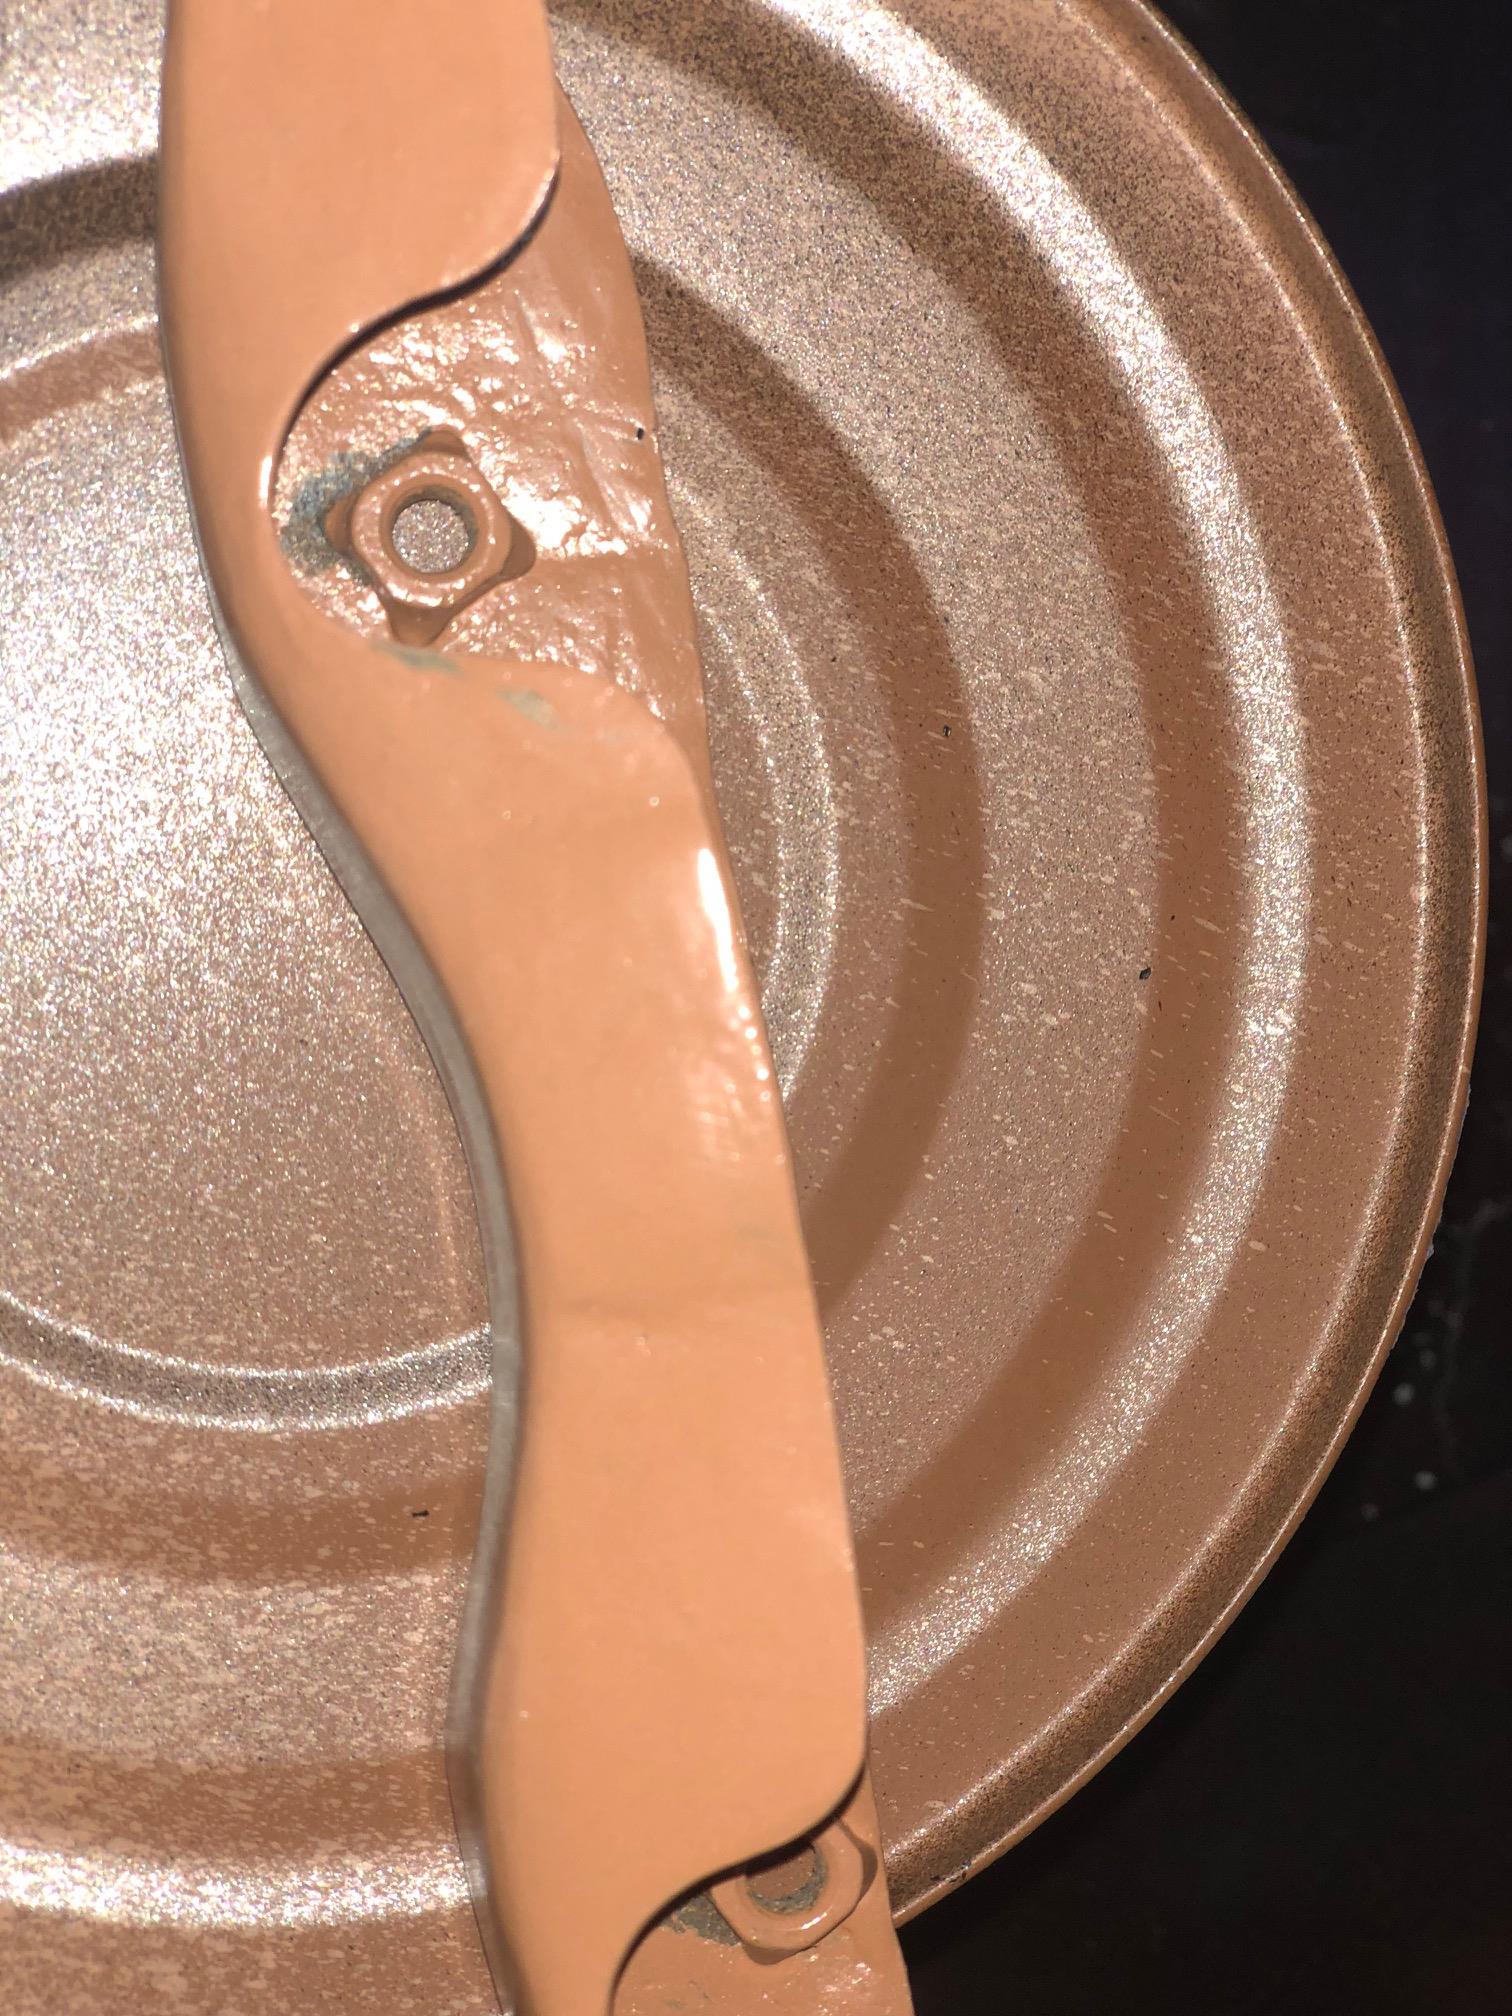
At this stage if we were to re apply RCP primer we would go over the exposed steel areas with some emery cloth to provide a coarse suitable key for maximum adhesion. However, pushed for time, we wanted a fast cure coating. We opted for Buzzweld CIO Chassis In One. Its a semi self etching primer so high adhesion, and importantly for us very fast curing. We used the included Very High Flow round nozzle as the round nozzles are better for complicated parts.
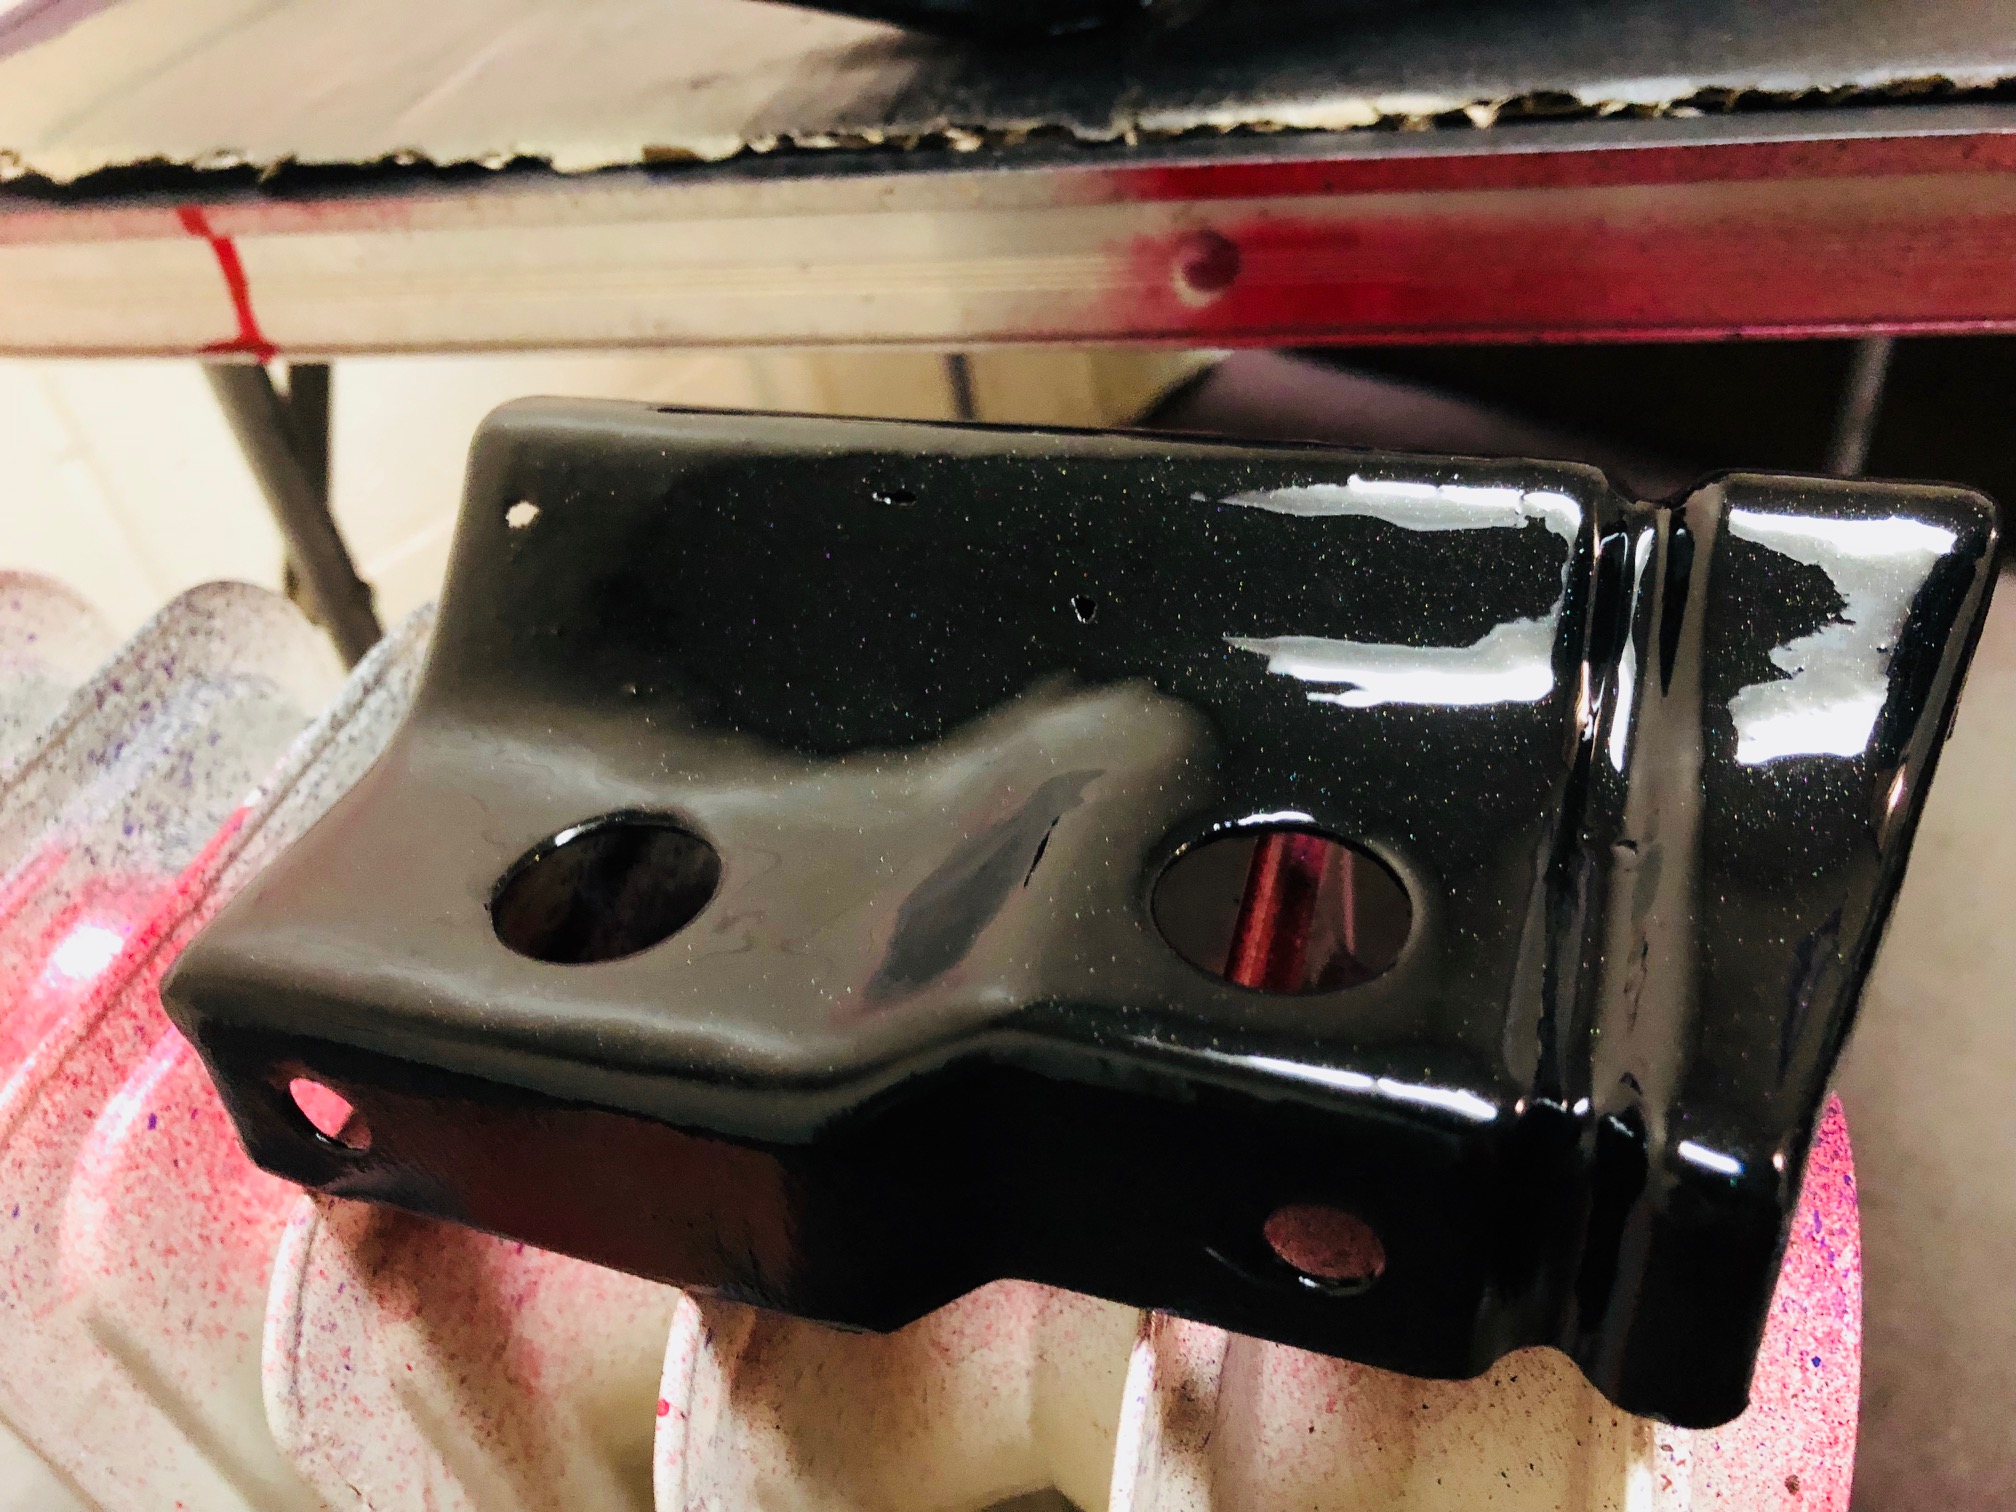
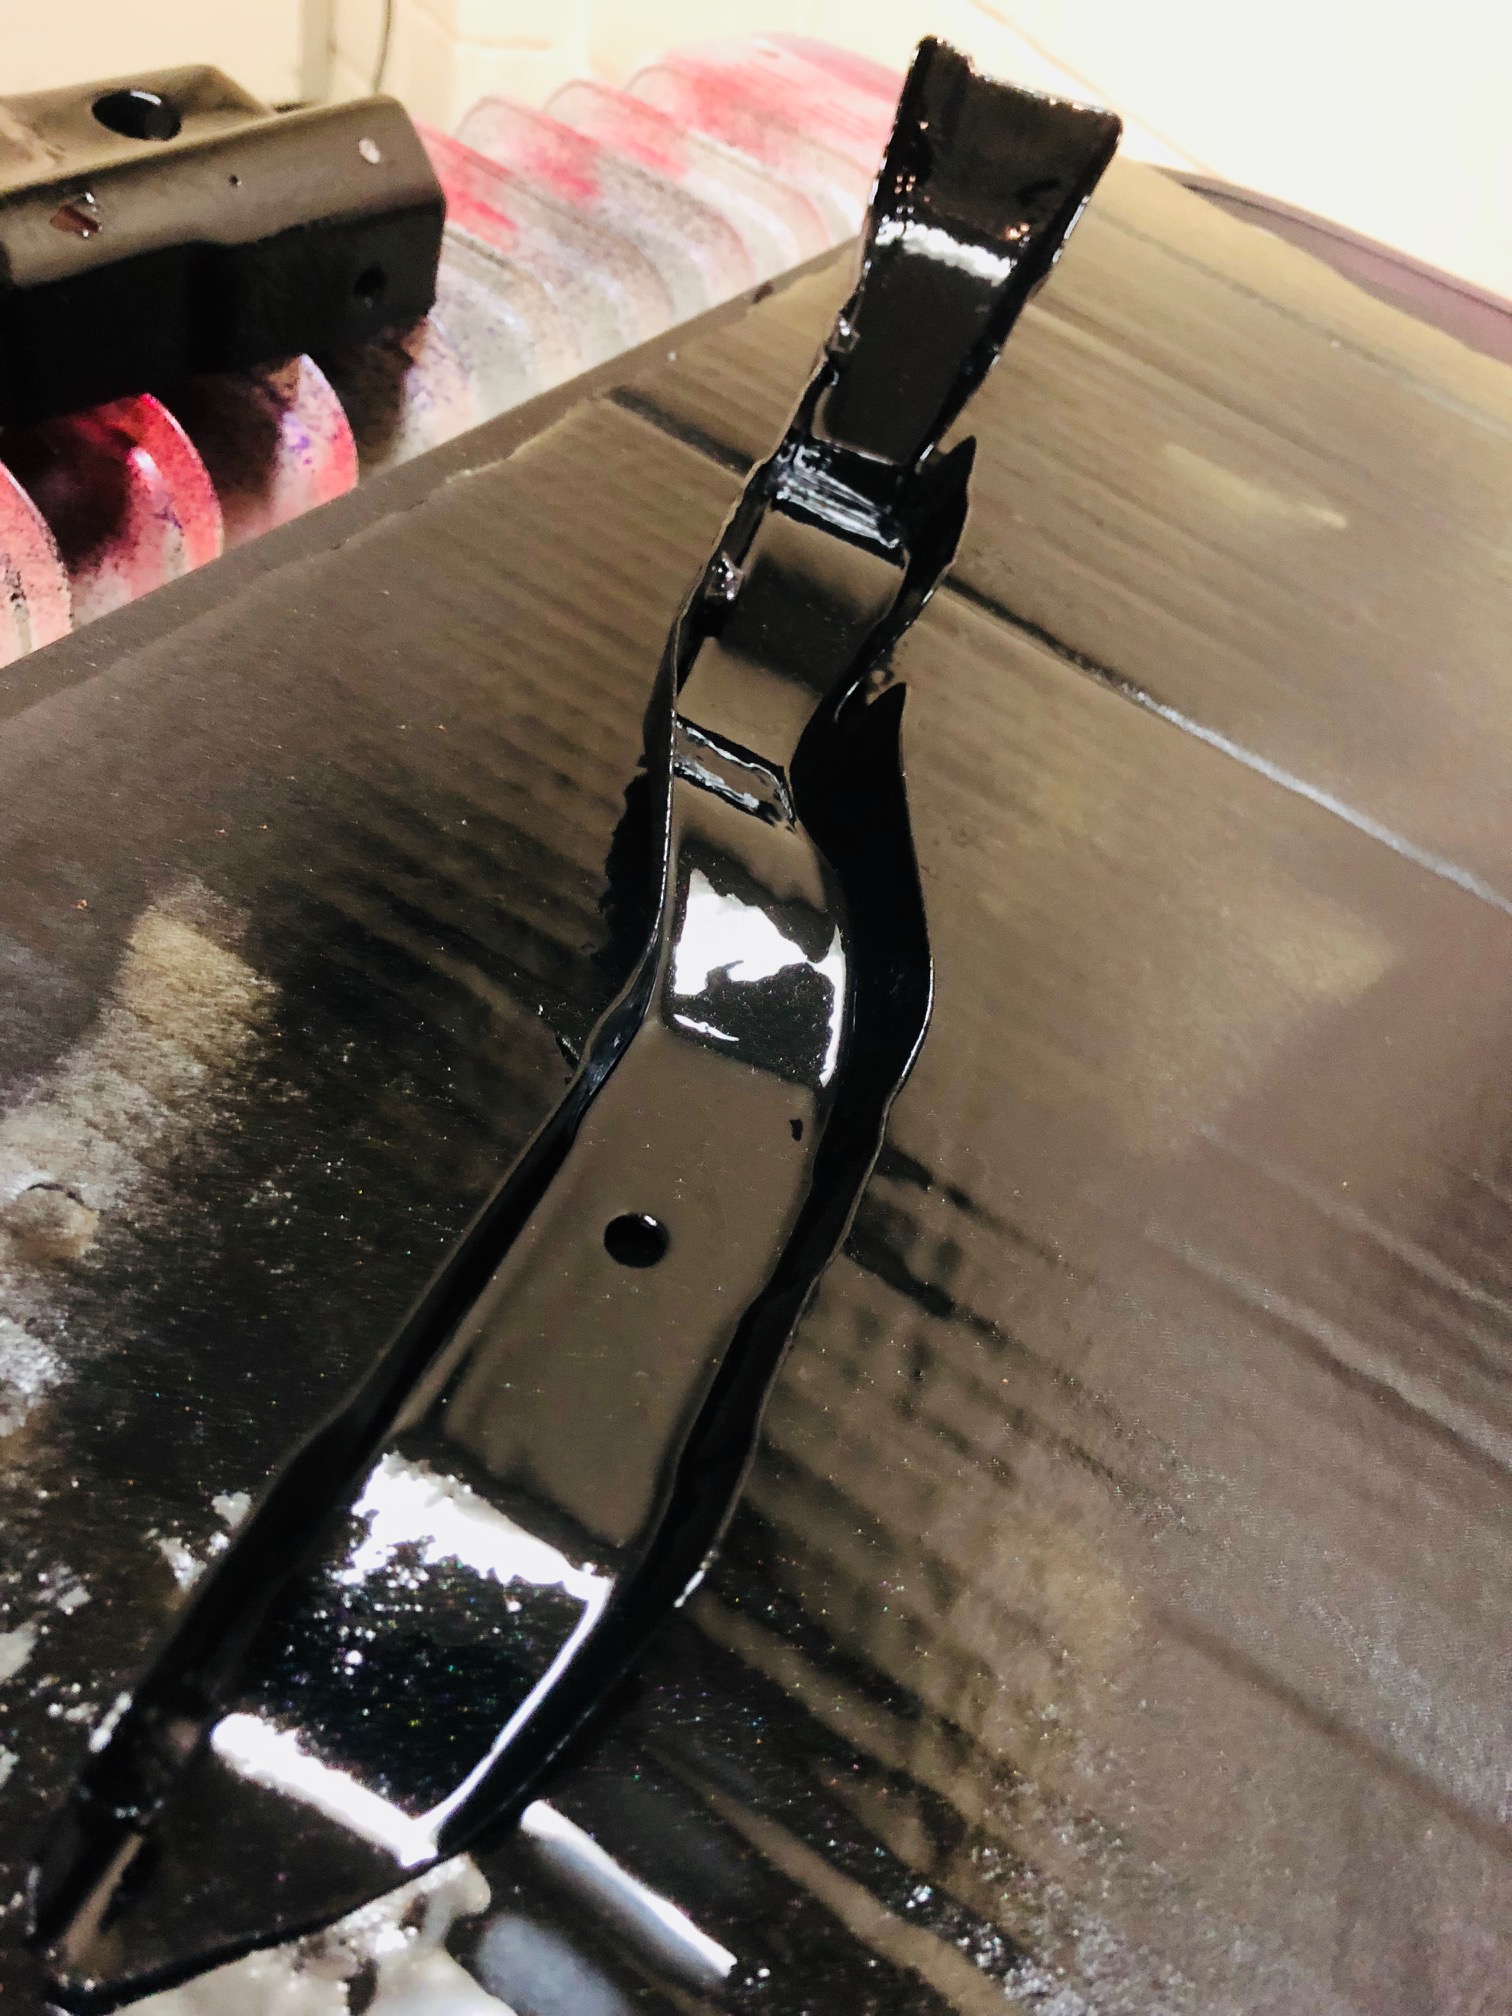
We gave the brackets two good coats. Each coat was applied from 8 angles in cross coats, so the four flat sides, followed by faster passes over the whole bracket "attacking" from each corner. The reason for this is because not only are the brackets a complicated shape, but they also have holes (some original, some not), and if we simply applied each coat with a pass at 90 degrees to each other (two passes per coat), we would miss several areas, and other areas would be "blacked". This is when the paint changes the colour of the item, but not enough paint is on to offer any real protection. Rust spotting will occur later on if you do not cover the ENTIRE item from all angles. Rust spotting occurs from low DFT (dry film thickness explained here)
The result of the above is that there is now paint behind areas like the captive nuts where there was not before.

We let that cure (we cheated and used an oil filled radiator), this massively decreases cure times, and risk of solvent entrapment. Solvent entrapment is when the top layer of the coating cures, and the paint underneath has not. You end up with a soft coating that is dry, but it may never set. The easiest way to reproduce this is to lay paint on too thick, and too often. Chassis Black Gloss extreme is prone to this because it does not run, so its easy to lay on lots and lots of paint, get a superb finish, but then realise you have put so much on its having a hard time getting rid of the solvent so it can cure and go hard all the way through.
When most of the CIO had gone touch dry we then applied a light coat of Buzzweld1 PolyEnamel. We ensured most of the solvents from CIO had come away, but certain areas it was still wet. This isn't a problem so long as you don't lay on the next coat really thick, and just keep adding paint. Our brackets were warm from the heater, and were setting fast, so we were fine to do this.
We applied one light coat from the 8 angles as before, ensuring we left it over a minute between passes as we built up our first coat. note. 1 coat is not one pass. If you do this you would need 5<20 "coats" to attain any real level of protection, unless you are moving the aerosol slowly, and using a very high flow nozzle.
So with our first coat on, they went back on the heater to cure them off, and we left them for another 30 minutes. The heater was around 50>60 degrees and was not blowing hot air, simply an oil filled radiator.
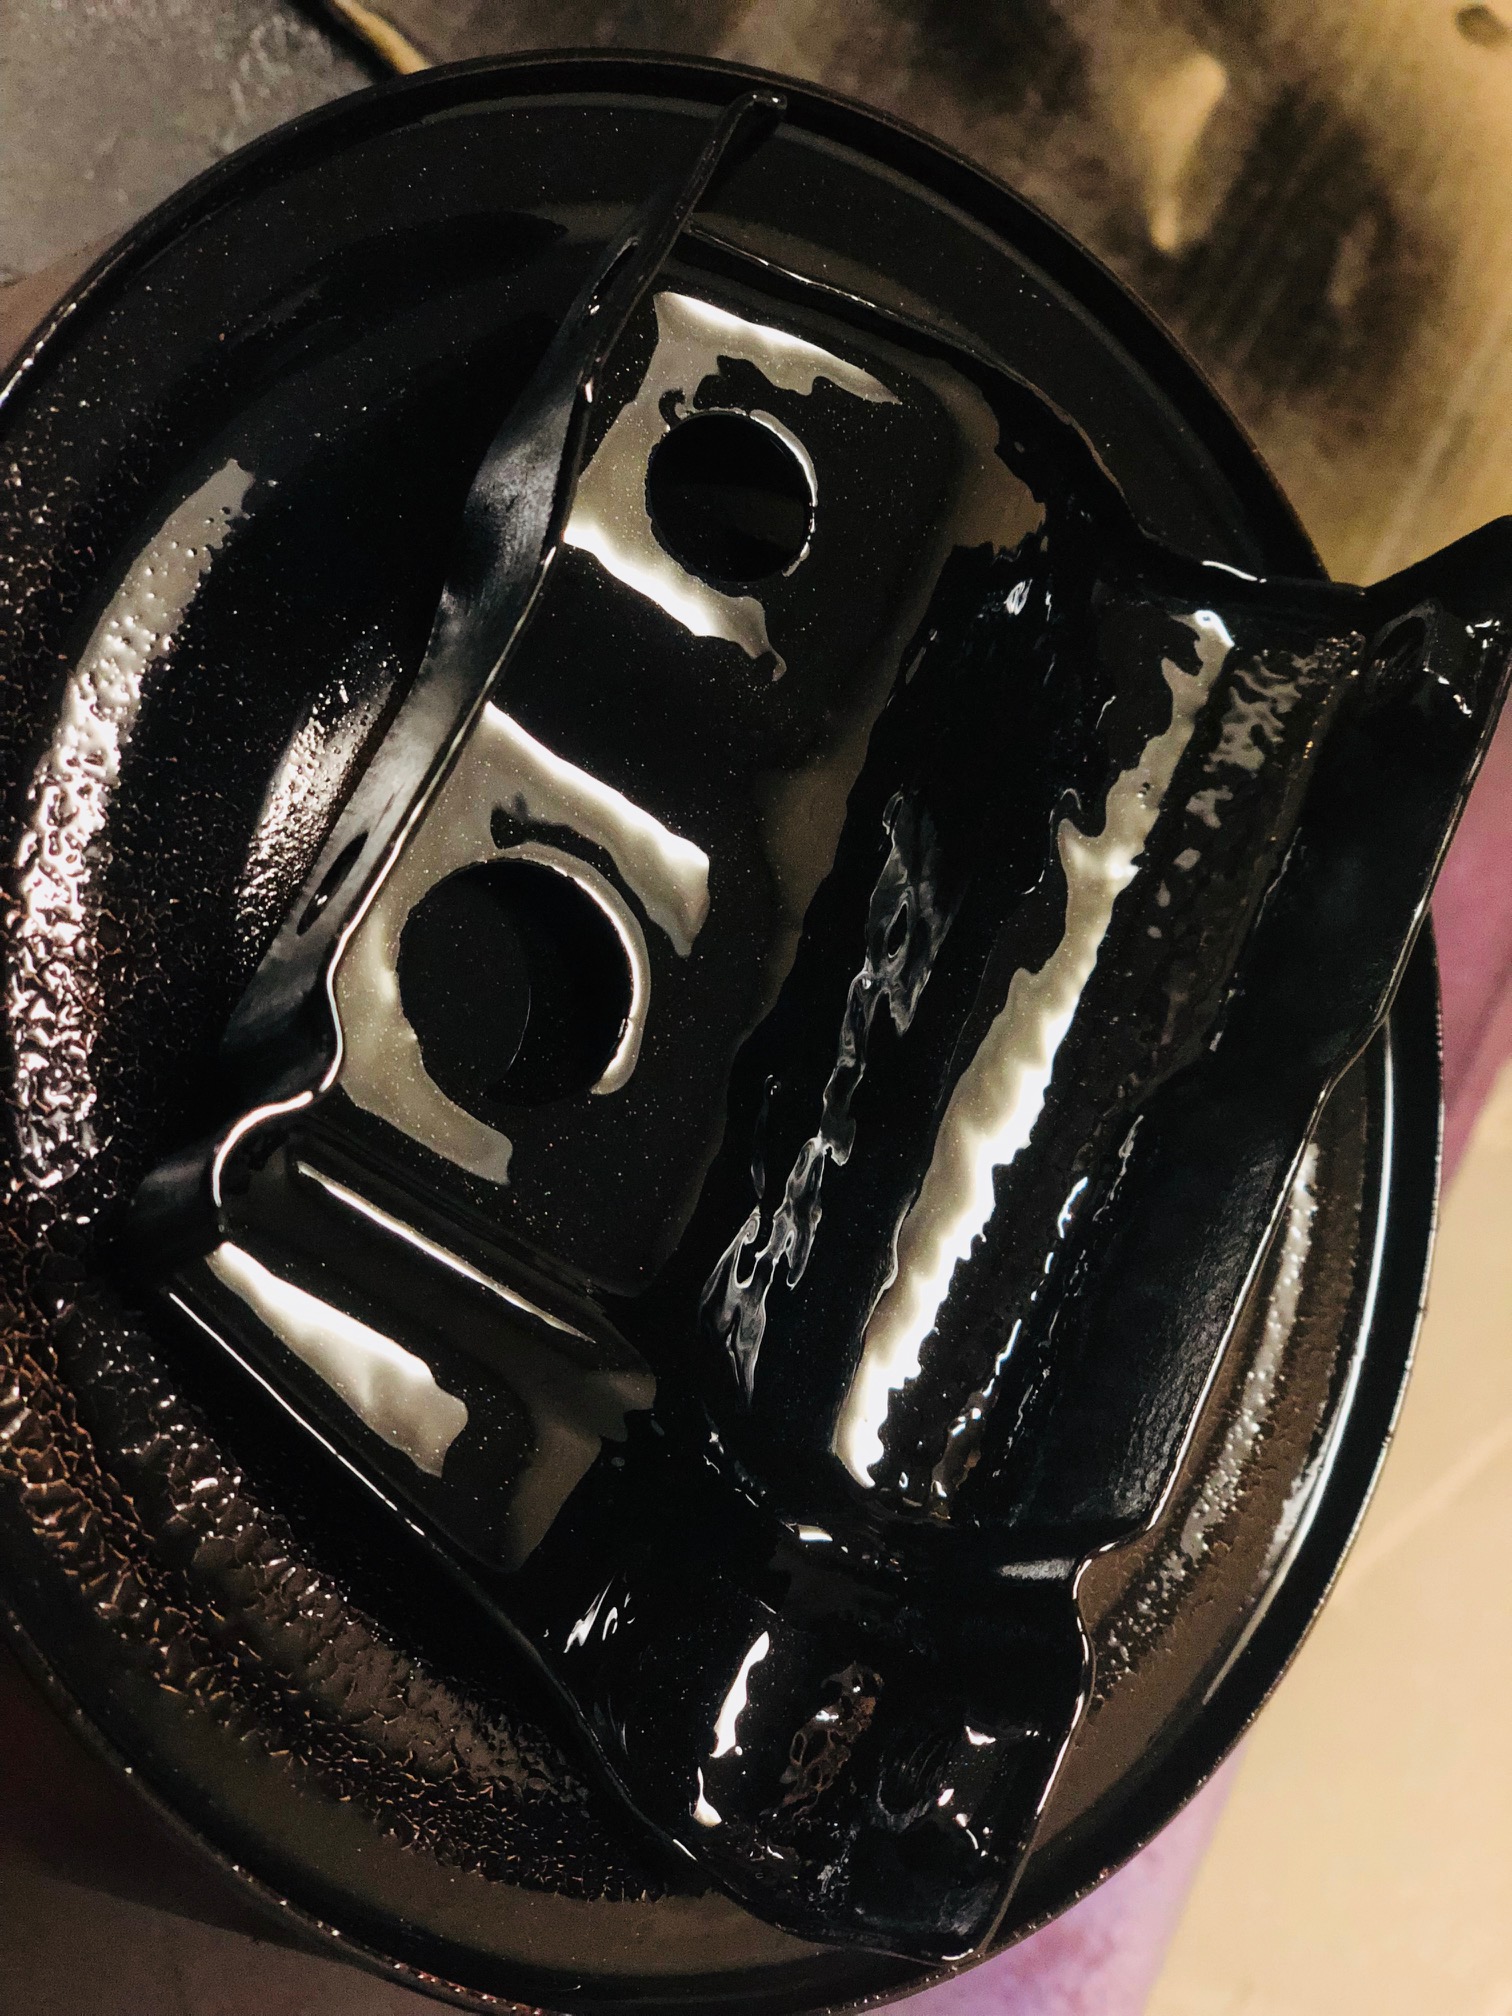
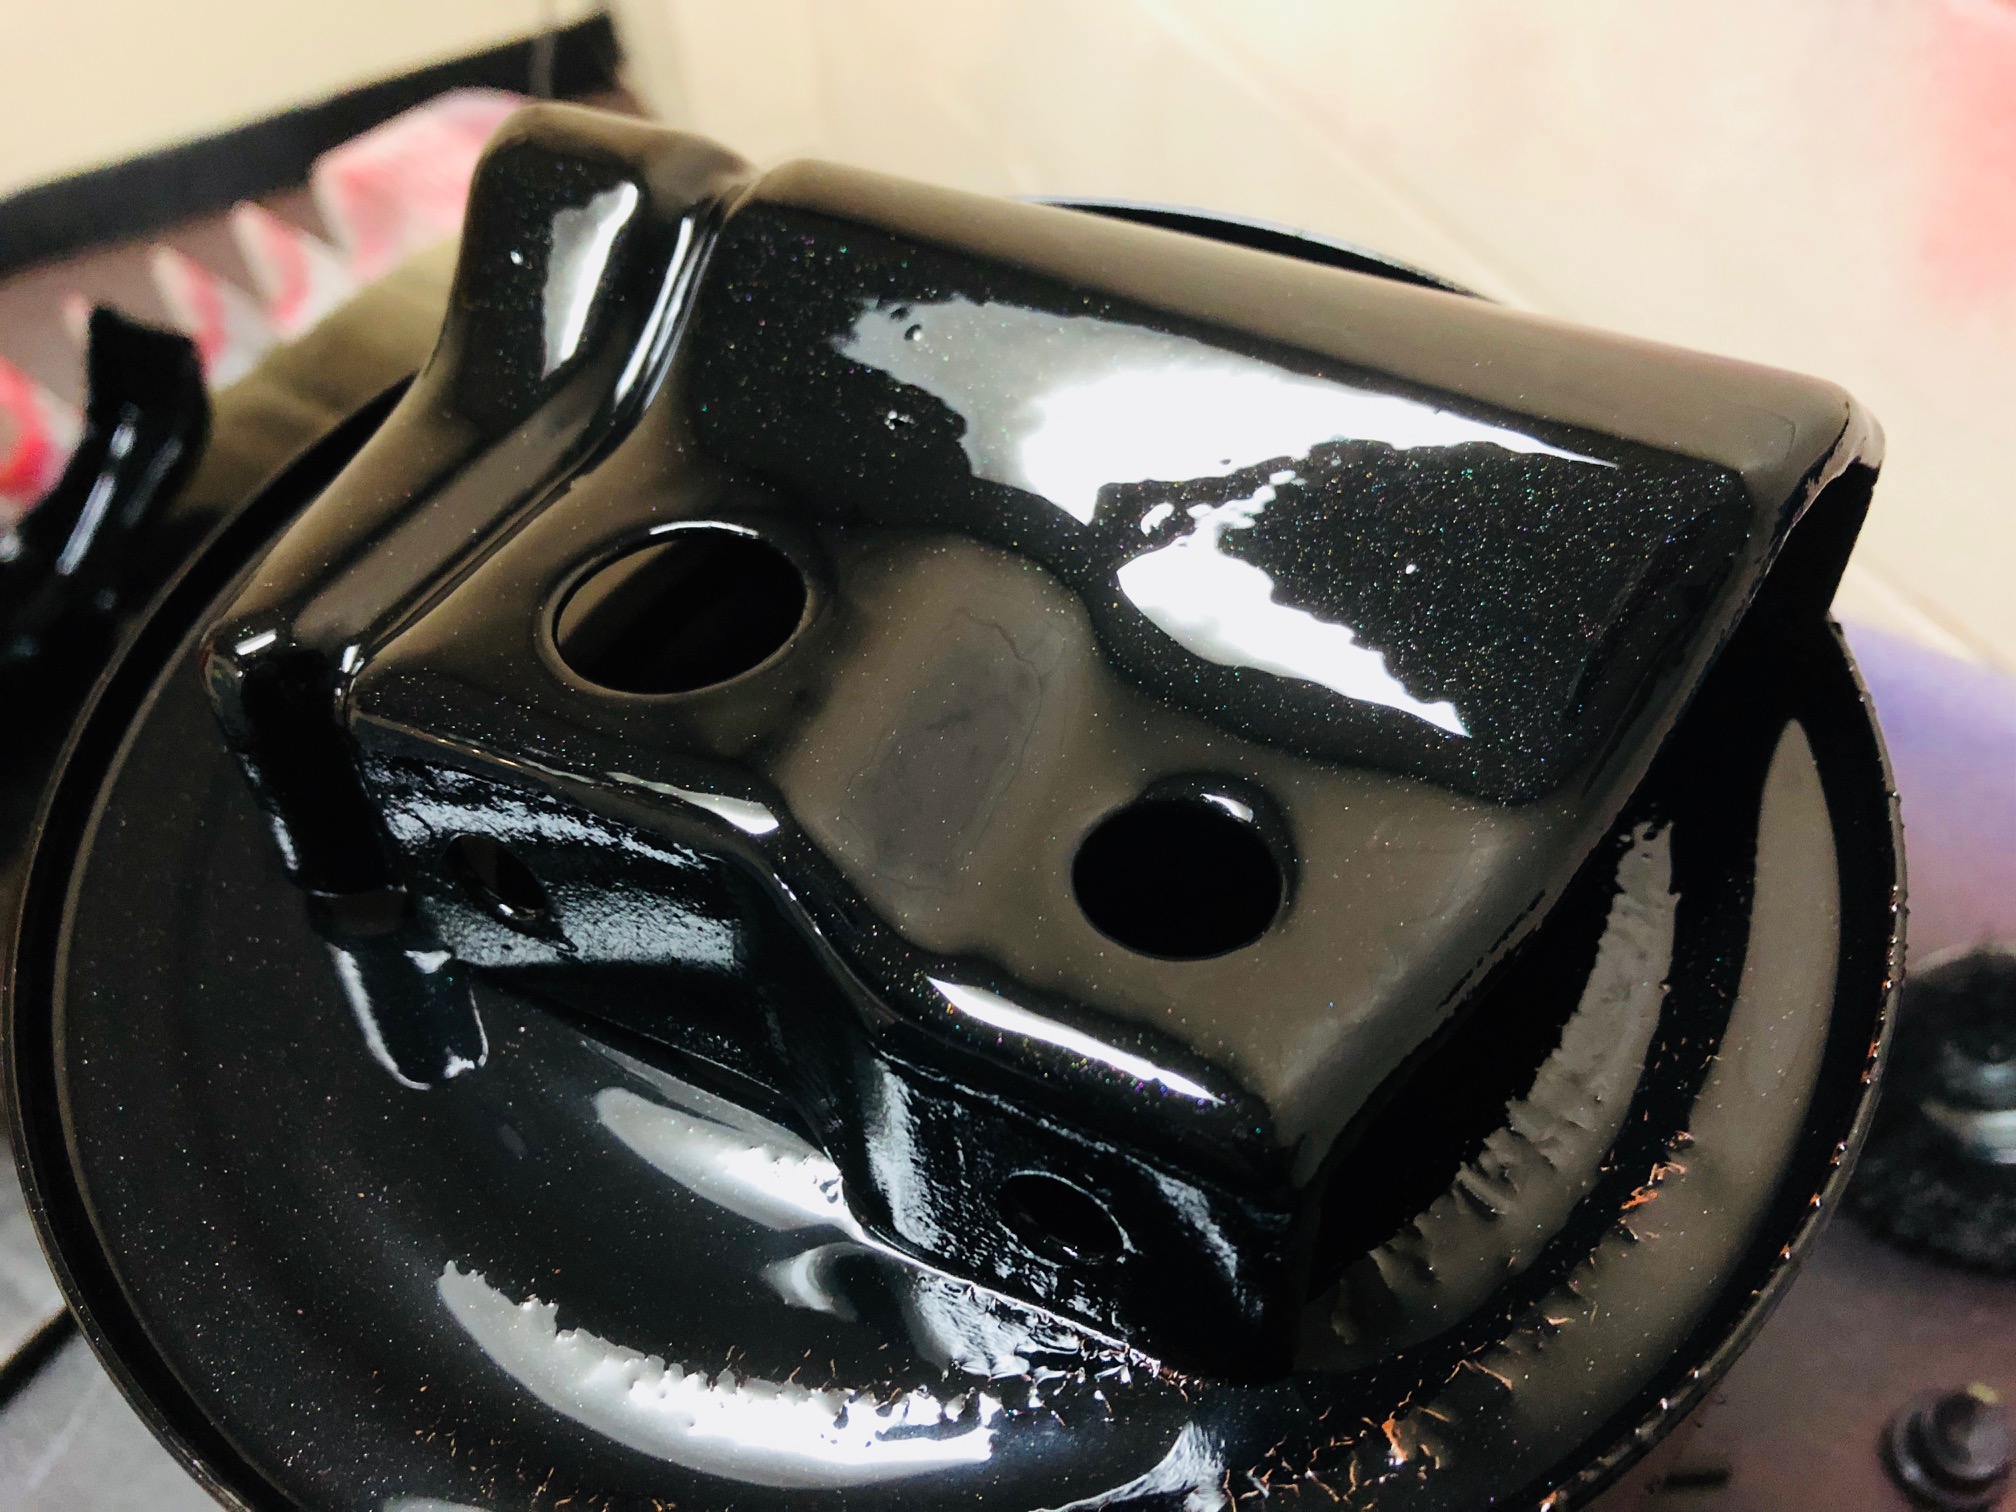
After that we ensured the coating was relatively hard, ok to handle (it would not be hard cured at this stage, that will take a few days typically), and we then applied our second heavier coat from multiple angles and passes to ensure full coverage.
You want good lighting to see how the product is laying up- too little product and it will be lumpy (orange peel), too much and it will run, and ruin the finish. Ideally we would have sanded these brackets back prior, and applied in a dust free booth then we could of had a much higher grade finish.
The end results....