How to Underseal your car using the FX11
How to Underseal your car using the FX11
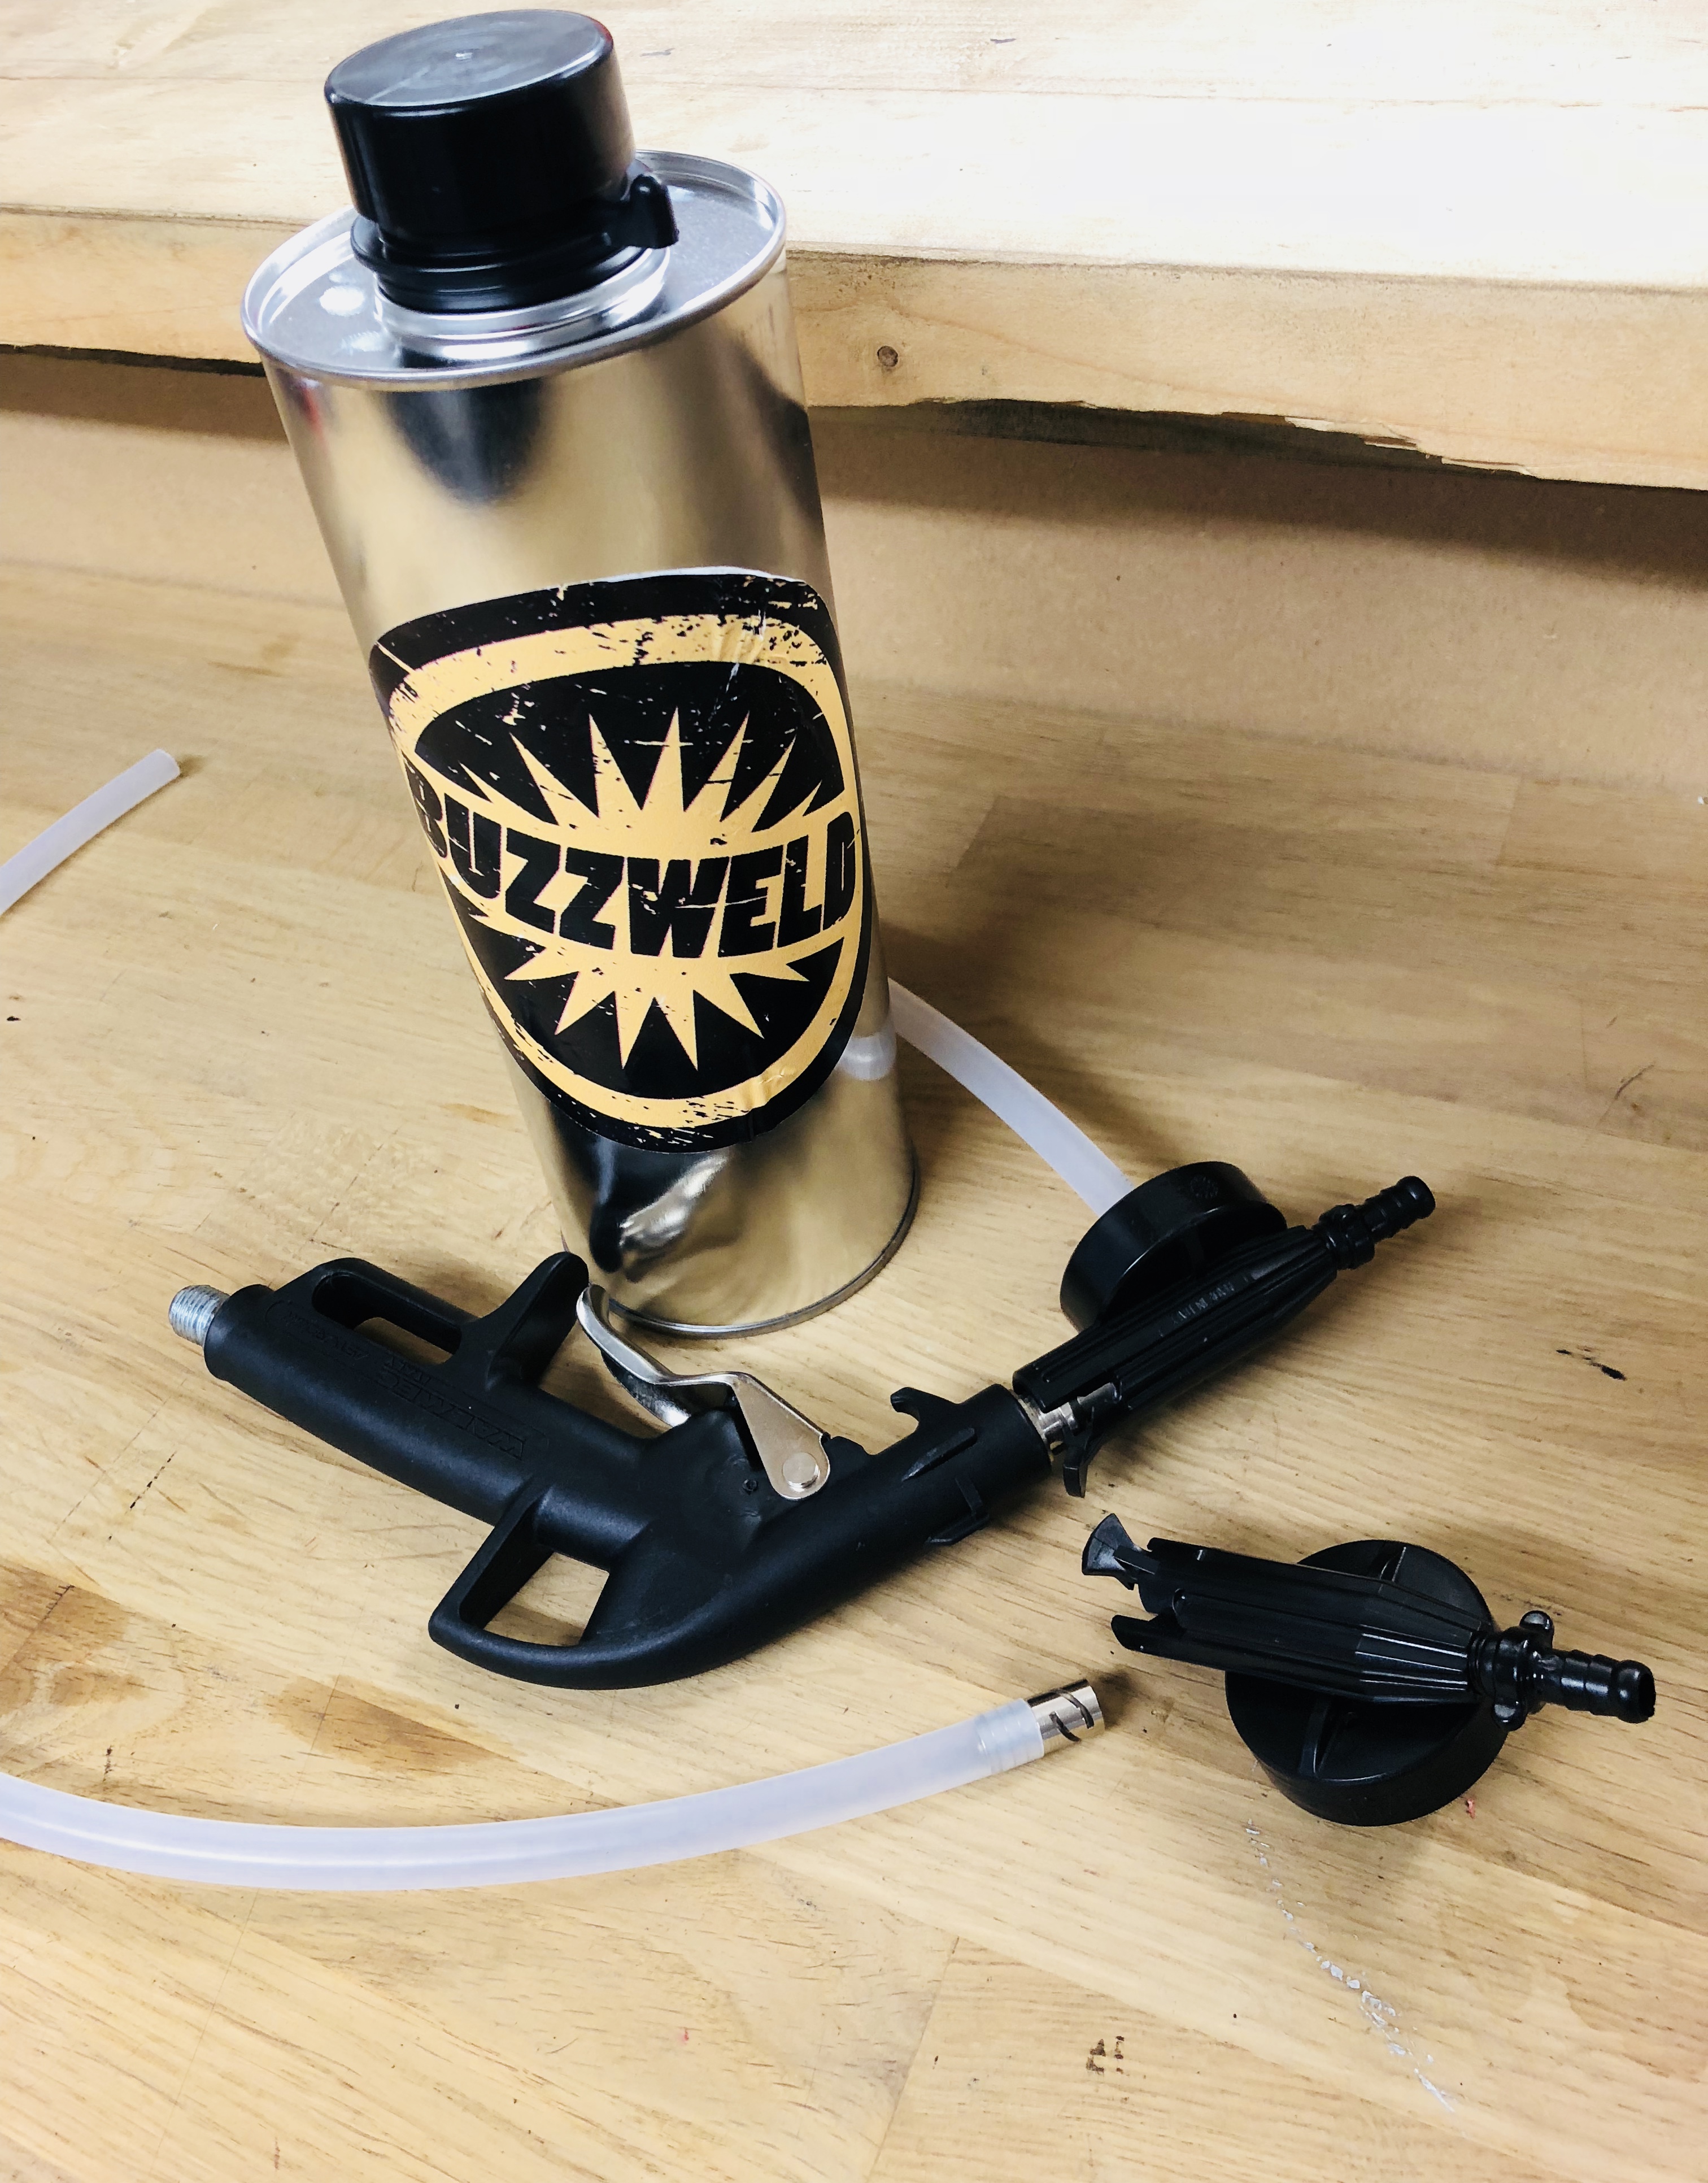
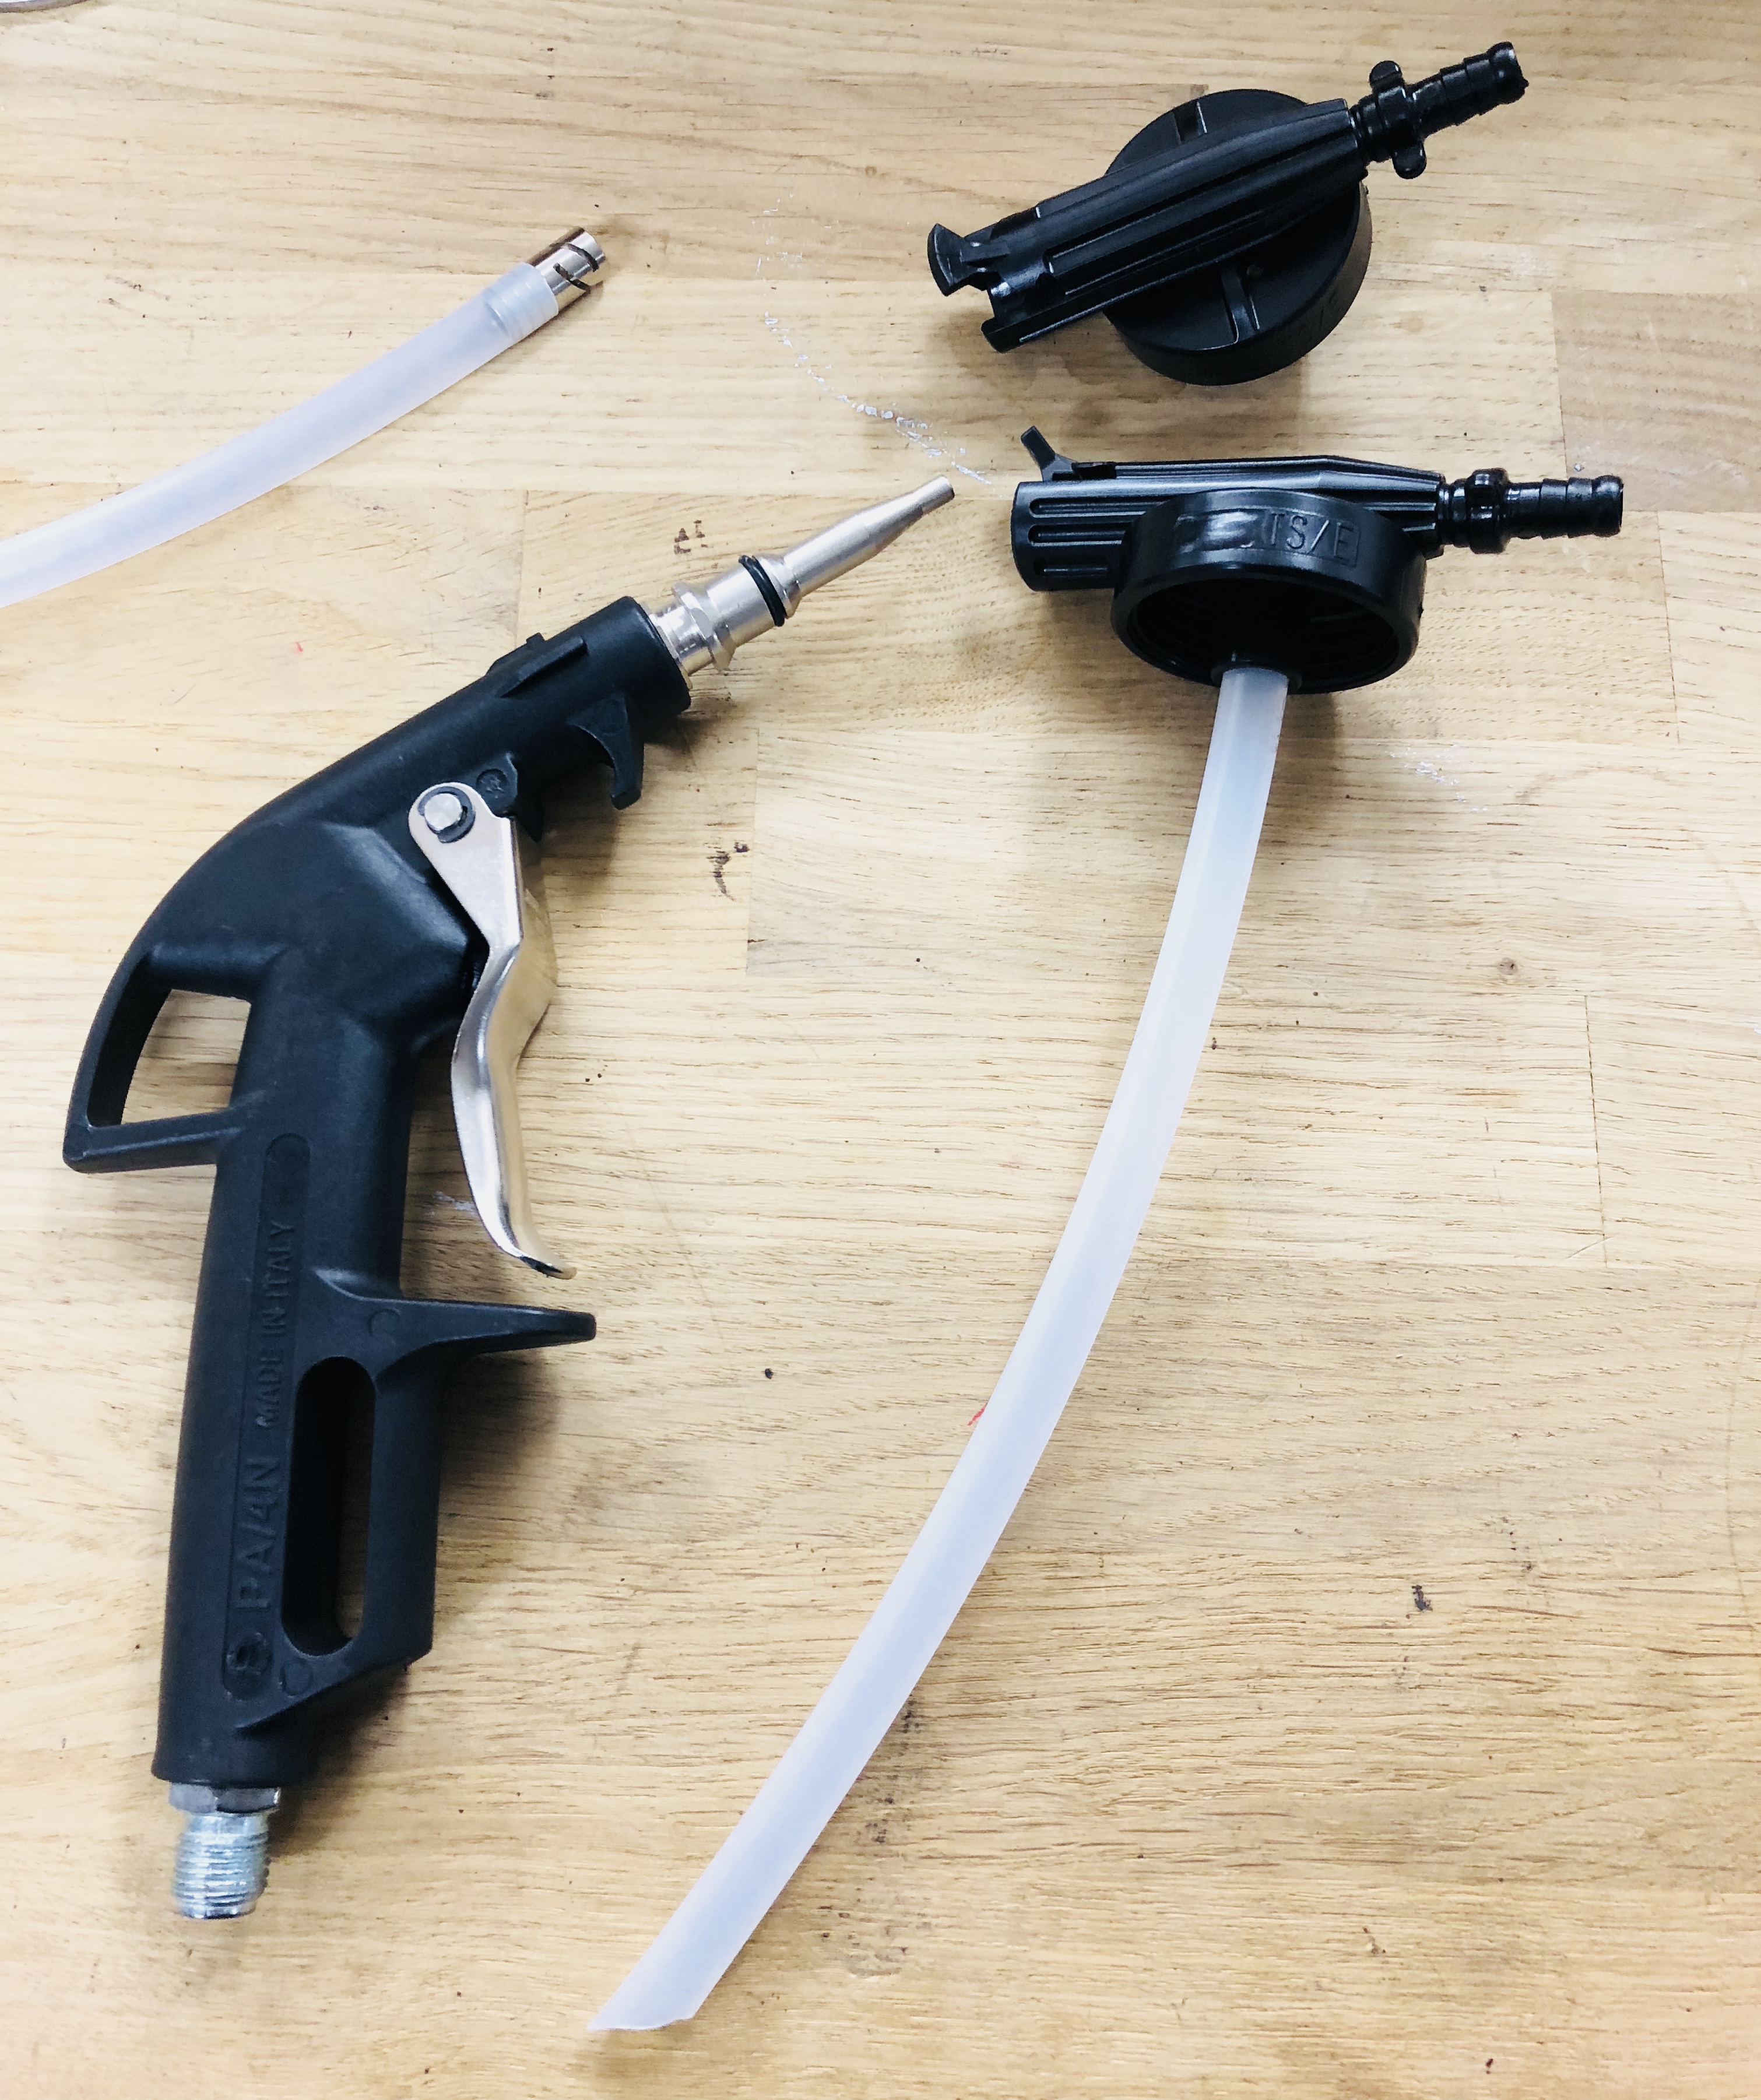
The FX11 gun is a premium schutz gun. Its improved over the standard underbody schutz gun several ways.
-
lighter - Composite body
-
4 piece gun- also works as an air jetter, and the can swivels independently of the handle, allowing for great control and access in wheel arches, and when painting suspension components
-
Improved actuation - Less fatigue
-
Changeable air fitting - fit any air fitting
-
Full 360- degree lance for full coverage - 360 degree cerations
-
Size- Smaller so fits in tighter areas
-
Adjustable nozzle - Control paint output, texture, and adjust to viscosity
-
Higher quality components used
-
spare parts available
How to Setup the FX11 gun for undersealing
The FX11 rustproofing gun is very simple to use but there are a few steps to make it work well.
There are many types of paint, and waxes that you can spray using this gun, so we will cover a "universal" way to use the gun, and then also using our specific buzzweld products, along with some tricks and tips on how to get the best from this schutz gun. There are several factors that will affect how your paint sprays. here are the most important things to get right when spraying with a schutz gun
Air Pressure
The Gun works by passing compressed air over a "venturi". This venturi causes a vacume at the top of the pipe, and the bottom is submerged in the paint when you screw the gun to the pot. So in theory, when you pull that trigger and release the air, it sucks the paint up, mixes the paint with the air, and BAM- your spraying...
The ideal pressure we find for almost all applications is 75PSI. You will tend to find that 50psi or lower the gun will tend to spit more, and need more time to cover an area. Above 75PSI you are exceeding the pressure rating of the cans, so if you get a blockage, you are at risk of a "paint bomb". However higher pressures atomise better, spray more paint, and use more paint, so you can work faster.
TOP TIP :- Once you have sprayed your car, lower the pressure and spray the whole underbody over, moving the gun faster than usual. This will create a heavier textured effect.
Paint Viscosity - Setting up undercoating gun to spray
Based on the vacume created by the air pressure above, air pressure will dictate how much paint comes out. With the gun drawing the paint up the tube, naturally the thicker the paint the harder it is to draw it up the tube, the harder it is for the air to split the paint apart and mix it with the air. So thicker paints will come out slower and leave more of a texture. To get the gun to suck paint you first need to adjust the nozzle. This will dictate how much paint the gun tries to draw up the tube. Do this by following this gun setup procedure: -
-
Set the air pressure as above and connect to airline
-
Screw the nozzle in fully
-
Point the gun at a waste piece of cardboard or work.
-
pull the trigger (no paint will come out)
-
With the trigger depressed still, slowly begin unscrewing the nozzle.
-
Keep unscrewing until you have reached the desired effect. Less for thinner paints, more for thicker paints.
TOP TIP :- Clean the adjustable nozzle if you experience issues with product pickup, or poor spraying
 Paint texture, finish and coverage
You can do several things with the gun to alter the texture, the overall finish, and the coverage, as well as film thickness.
Film thickness is very important for suitable protection, so ensure you do not increase coverage so much that you reduce the required film build. heres a bunch of tips for you:-
-
Warm the cans prior to using them- This reduces the viscosity, and allows the paint to level out better for a reduced texture. VS thinning the product, this does not reduce the film thickness and is preferential.
-
Thin the cans. If you are going over heavy rust with for example Rust Encapsulator- you can increase its ability to wet out and creep into seems by thinning it. we recommend no more than 10%. There is spare capacity in our tins to add thinner without having to decant.
-
increase the pressure, and move a little further back when spraying will also help you get a more even finish
How to Paint hard to reach places
The FX11 gun has the unique ability for the gun to detach from the spray gun adaptor. this means that you can detach the can easily, and use it to air dust down the underbody before. this is a great thing to do before spraying. Because of this feature the gun and can adaptor can swivel 360 degrees. this means you can have one hand on the gun, and one on the can, and move them in opposite directions whilst spraying. This allows you to paint outer wheel arch lips, up and around rear suspension, and get on top of chassis rails. This is why we use the FX11 gun.
 How to use the 360 degree Cavity Extension probe
Spraying using the extension probe often requires additional setup. We will assume you have been successfully spraying as above with WAR underbody super wax, and now want to spray it into the cavities. Just connect the lance and spray right?- WRONG!. this will cause the gun to block.
Using the extension lance actually reduces the ability of the gun to spray. to assist here we recommend the following steps prior to spraying with the gun.
-
Unscrew the adjustable nozzle fully and clean it.
-
Screw the nozzle in a maximum of two full turns and push the lance onto the end
-
Remove the paint can, and add around 20% thinner. refit the black cap, cover with a gloved hand, and shake very well for three minutes.
-
Remove the black cap, and use a mixing spatula to check the paint isn't "gloopy" at the bottom. continue mixing if so.
-
Put your finger on the pickup tube and pull the trigger. it should pull a vacume very well.
-
Attach the paint canister and do a test spray. pull the trigger slowly as if you have paint coming out the vent you have a blockage. clear the blockage and retry.
OPTIONAL EXTRAS
Further Reading - Negative affects of thinning paint
good write up guide for gun. gun itself really good value for money.